Showing posts with label summer nails. Show all posts

Sunday, 24 September 2017

Blue and White Gradient Nails!

Blue and White Gradient Nails!

Rating: **

Finished Nails
Tools
I used:
  • Barry M 629 Matte White
  • Barry M 306 Blueberry
  • Color Show 661 Ocean Blue
  • Barry M Quick Dry Top Coat 704
  • Striping tape
  • Makeup sponge

Step 1

Paint your nails white. 


Step 2

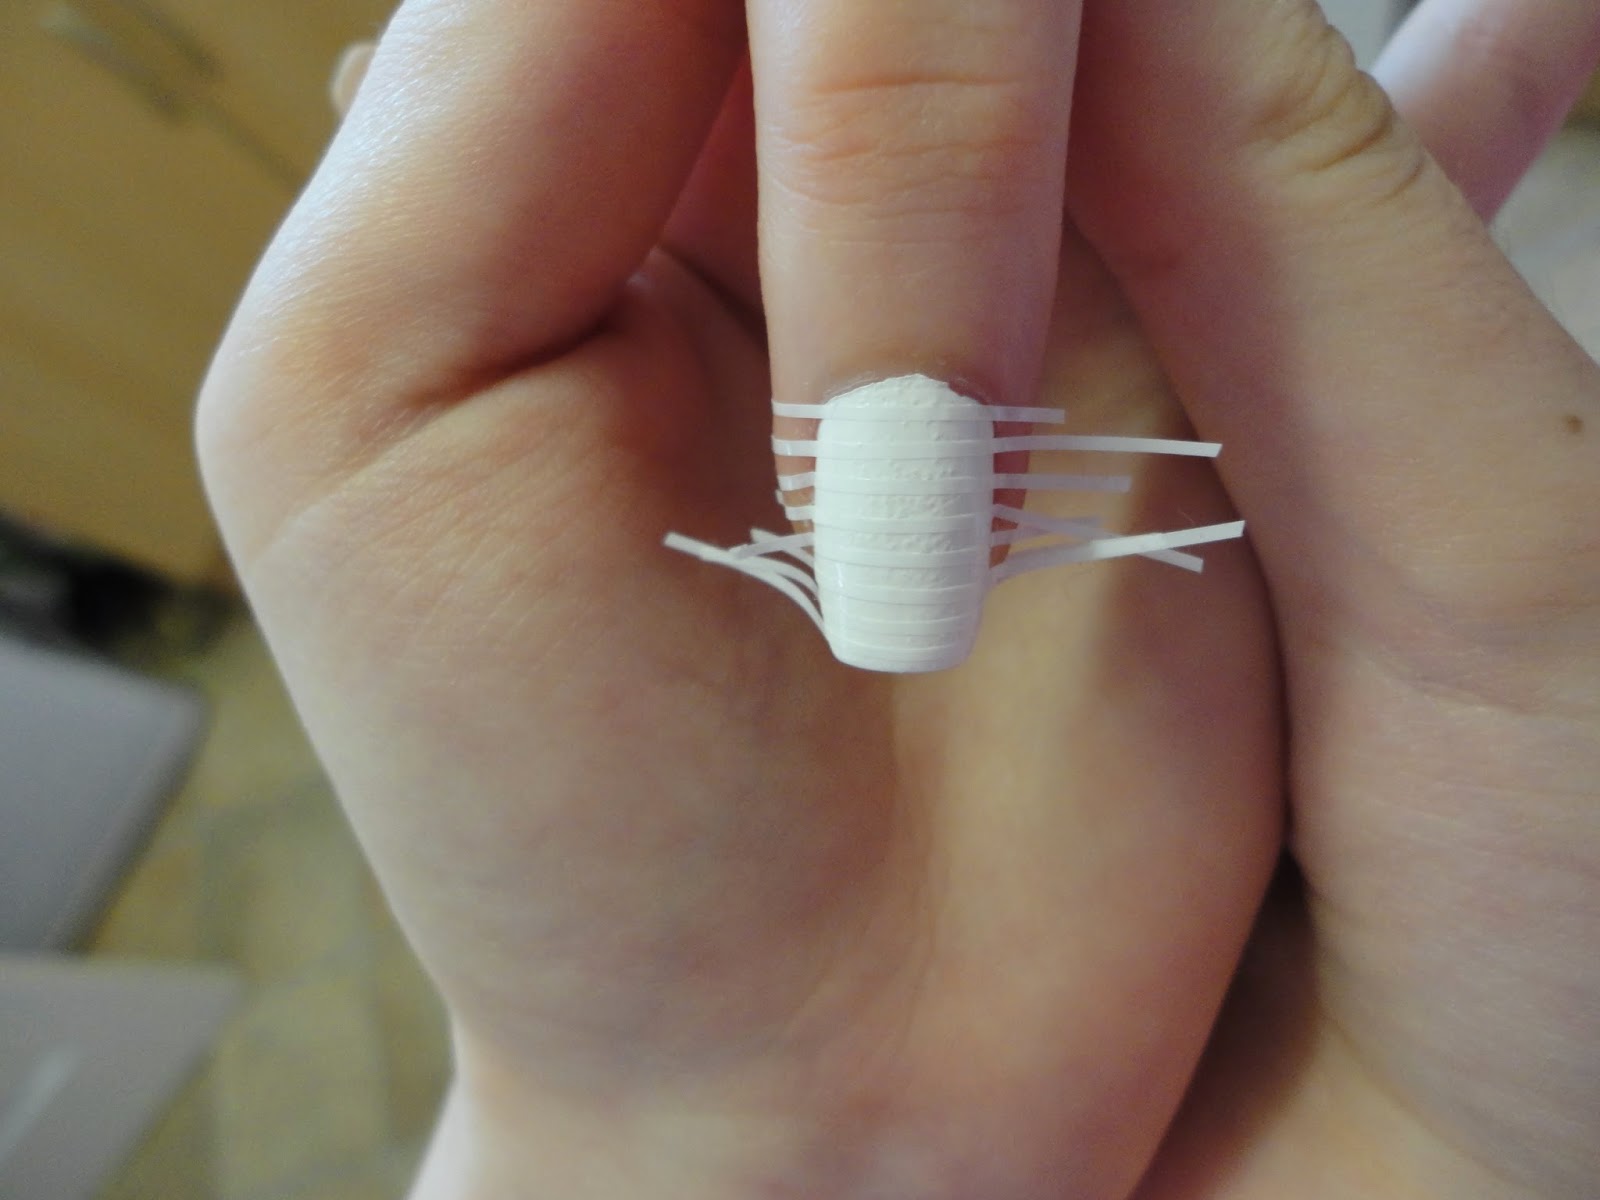
Stick 3 or 4 pieces of striping tape across your nails. I also find it is a good idea to put liquid latex around your nails when doing gradients as it makes cleaning up your fingers much easier!


Step 3

Using the sponge, paint white, pale blue, and dark blue stripes on it and dab it on each nail to create the gradient. You may need to reapply the varnish a few times for each finger. Once you are happy with the gradient, carefully and quickly peel off the tape in the reverse order you applied it, and the liquid latex if you've used it.


Finally, cover your nails in the top coat to protect them.

If you have any suggestions or questions, please email them to nail.art12345@gmail.com or leave a comment below. And don't forget to head over to our Facebook page and hit like!  


Wednesday, 16 August 2017

Sunset Beach Nails

Sunset Beach Nails!

Rating: *****

Celebrating 5 years since our first post


Finished Nails
Tools


I used:

  • Seventeen Pink 59628
  • Miss Beauty 21 Sunset
  • Color Show 749 Electric Yellow 
  • Black acrylic paint 
  • Barry M Quick Dry Top Coat 704
  • Make up sponge 
  • Small detailing brush

Step 1

Paint a gradient on your nails with the pink, orange and yellow nail varnishes using the make up sponge.


Step 2

Using the small paintbrush, add a palm tree or two to each nail. To paint the trees, first add a stripe for the trunk then 5 stripes radiating from the top keeping them curving downwards at the tips for the branches. Then carefully add little flecks along each branch for the leaves. Finally add a very rough line for the ground at the base of the tree.


Finally, cover your nails in the top coat to protect them.
 
If you have any suggestions or questions, please email them to nail.art12345@gmail.com or leave a comment below. And don't forget to head over to our Facebook page and hit like!  

Sunday, 2 April 2017

Hawaiian Flower Nails!

Hawaiian Flowers

Rating: *****

Finished Nails
Tools


I used:
  • Miss Beauty 355 Neon Green
  • PS Nail Polish Emerald Green
  • LM Nail Polish 161
  • LM Nail Polish 120
  • Maybelline COlour Show 749 Electric Yellow
  • Maybelline Colour Show 130 Winter Beauty
  • La Femme Top Coat
  • Striping Brush
  • Detailing Brush
  • Small Dotting Tool

Step 1

Paint your nails a bright green.


Step 2

Using a striping brish, paint two stripes up the nail. Then add small strokes fanning out from these to create the leaves.


Step 3

Create the petals using love heart shapes. I did a large flower followed by a train of smaller flowers but you could put them wherever you like.


Step 4

Add a touch of darker pink at the centre of each petal.


Step 5

Make a pale yellow by mixing a small amount of yellow with white. Dot it around tha base of the petals.


Finally, cover your nails in the top coat to protect them.

If you have any suggestions or questions, please email them to nail.art12345@gmail.com or leave a comment below. And don't forget to head over to our Facebook page and hit like! 

Sunday, 25 September 2016

Turtle Nails!

Turtle Nails

Rating: **


Finished Nails
Tools

I used:

  • Rimmel 819 Green With Envy
  • Barry M 246 Aqua Glitter
  • Colour Cosmetic 07 Top Coat
  • Printed paper turtle

Step 1

Paint your nails white.


Step 2

Paint your nails with the Rimmel blue.


Step 3

Paint all your nails, except the one you will put the turtle on, with the Barry M sparkly blue.


Step 4

Paint your last nail with the sparkly blue and immediately place the paper turtle onto the wet nail varnish. You will need to keep pressing it down to make sure it stays on and you don't end up with a foot poking up when it is dry!


Finally, cover your nails in the top coat. Make sure it is nice and thick over the turtle. 
If you have any suggestions or questions, please email them to nail.art12345@gmail.com or leave a comment below. And don't forget to head over to our Facebook page and hit like!  


Sunday, 9 August 2015

Butterfly nails!

Butterfly Nails!

Rating: ***


Finished Nails
Tools

I used:
  • Fashion Icon 448
  • Rio Professional Nail Art Pens in Black
  • Barry M Cotton 505
  • La Femme Top Coat 118
  • Small dotting tool

Step 1

Paint your nails purple.


Step 2

Paint a small black curve in one corner of the base of your nail and then draw 4 lines outwards from it at regular intervals.


Step 3

Make the end of each line spread out a little.


Step 4

Add some small white dots to the black sections at the end of the lines using the dotting tool.


Finally, cover over the design in a top coat to protect it.

If you have any suggestions or questions, please email them to nail.art12345@gmail.com or leave a comment below. And don't forget to head over to our Facebook page and hit like! 


Sunday, 5 July 2015

Spotty Tipped Nails!

Spotty Tipped Nails

Rating: **


Finished Nails

Tools

I used:
  • Rimmel 60 Seconds 703 White Hot Love
  • Color Show 661 Ocean Blue
  • Rio Professional Nail Art Pens in White and Blue

Step 1

Paint your nails white.


Step 2

Paint the ring finger on each hand with the blue.


Step 3

Using the dotting tool on the pens, put white dots on the tip of the blue nails and blue dots on the tip of the white ones. Be careful not to squeeze the pens too hard as they will spurt nail varnish everywhere!


Finally, cover over the design in a top coat to protect it and smooth it out.

If you have any suggestions or questions, please email them to nail.art12345@gmail.com or leave a comment below. And don't forget to head over to our Facebook page and hit like! 


Sunday, 13 July 2014

American Flags Mark II!

American Flags Mark II


Here are some more American nails, for a really belated Independence Day and to celebrate me visiting America!

Rating: *****

Finished nails
Tools
Gems

I used:
  • Rimmel 703 White Hot Love
  • Collection 2000 5 Fire Engine
  • Barry M 417 Blue Grape
  • Barry M 54 Clear
  • Striping tape
  • Star gems

Step 1

Paint your nails white.

Step 2

Use the striping tape to create red stripes across the nails, like the American flag. If it smudges, like mine did on the little finger, you can use a paintbrush to correct it or you can cover it up in the next step.


Step 3

Paint a white section anywhere on the nail. Make each one different and try not to have any straight edges. If it smudged in the previous step, you can put the white section over the top to save time fixing it!


Step 4

Paint over the white sections using the blue.


Step 5

Paint over the design with a top coat. Then add some gems to the blue section while it is still wet.


Step 6

Paint over the whole design with another top coat or two to seal in the gems

If you have any suggestions or questions, please email them to nail.art12345@gmail.com or leave a comment below 

Sunday, 6 July 2014

American Flag Nails!

American Flag Nails!

In honour of it being Independence Day across the pond last Friday and the fact that I'm on holiday in America soon, I thought I would do a twist on regular American flag nails. 

Rating: ****

Finished nails
Tools
Stamper


I used:
  • Rimmel 703 White Hot Love
  • Color Show 661 Ocean Blue
  • Collection 20005 Fire Engine
  • Barry M 54 Clear
  • Small metal tipped paintbrush
  • Salon Express Stamper

Step 1

Paint all your nails white.


Step 2

Paint your thumbs blue.


Step 3

Use the paintbrush to paint the stripes on all your fingers (not the thumb).


Step 4

Using the large star from the star and moon stamper with the white nail varnish, place a few stars on the thumb. Don't put too many or it will look crowded and make sure they don't overlap.


Step 5

Cover the design in the clear top coat to protect it and smooth it all out. I also paired this with painted toes since I'll be wearing sandals a lot over the summer. I did my big toes blue and the others alternating red and white to look vaguely like the flag.


If you have any suggestions or questions, please email them to nail.art12345@gmail.com or leave a comment below