Snowflake Nails II!
Rating: ***
 |
| Finished Nails |
 |
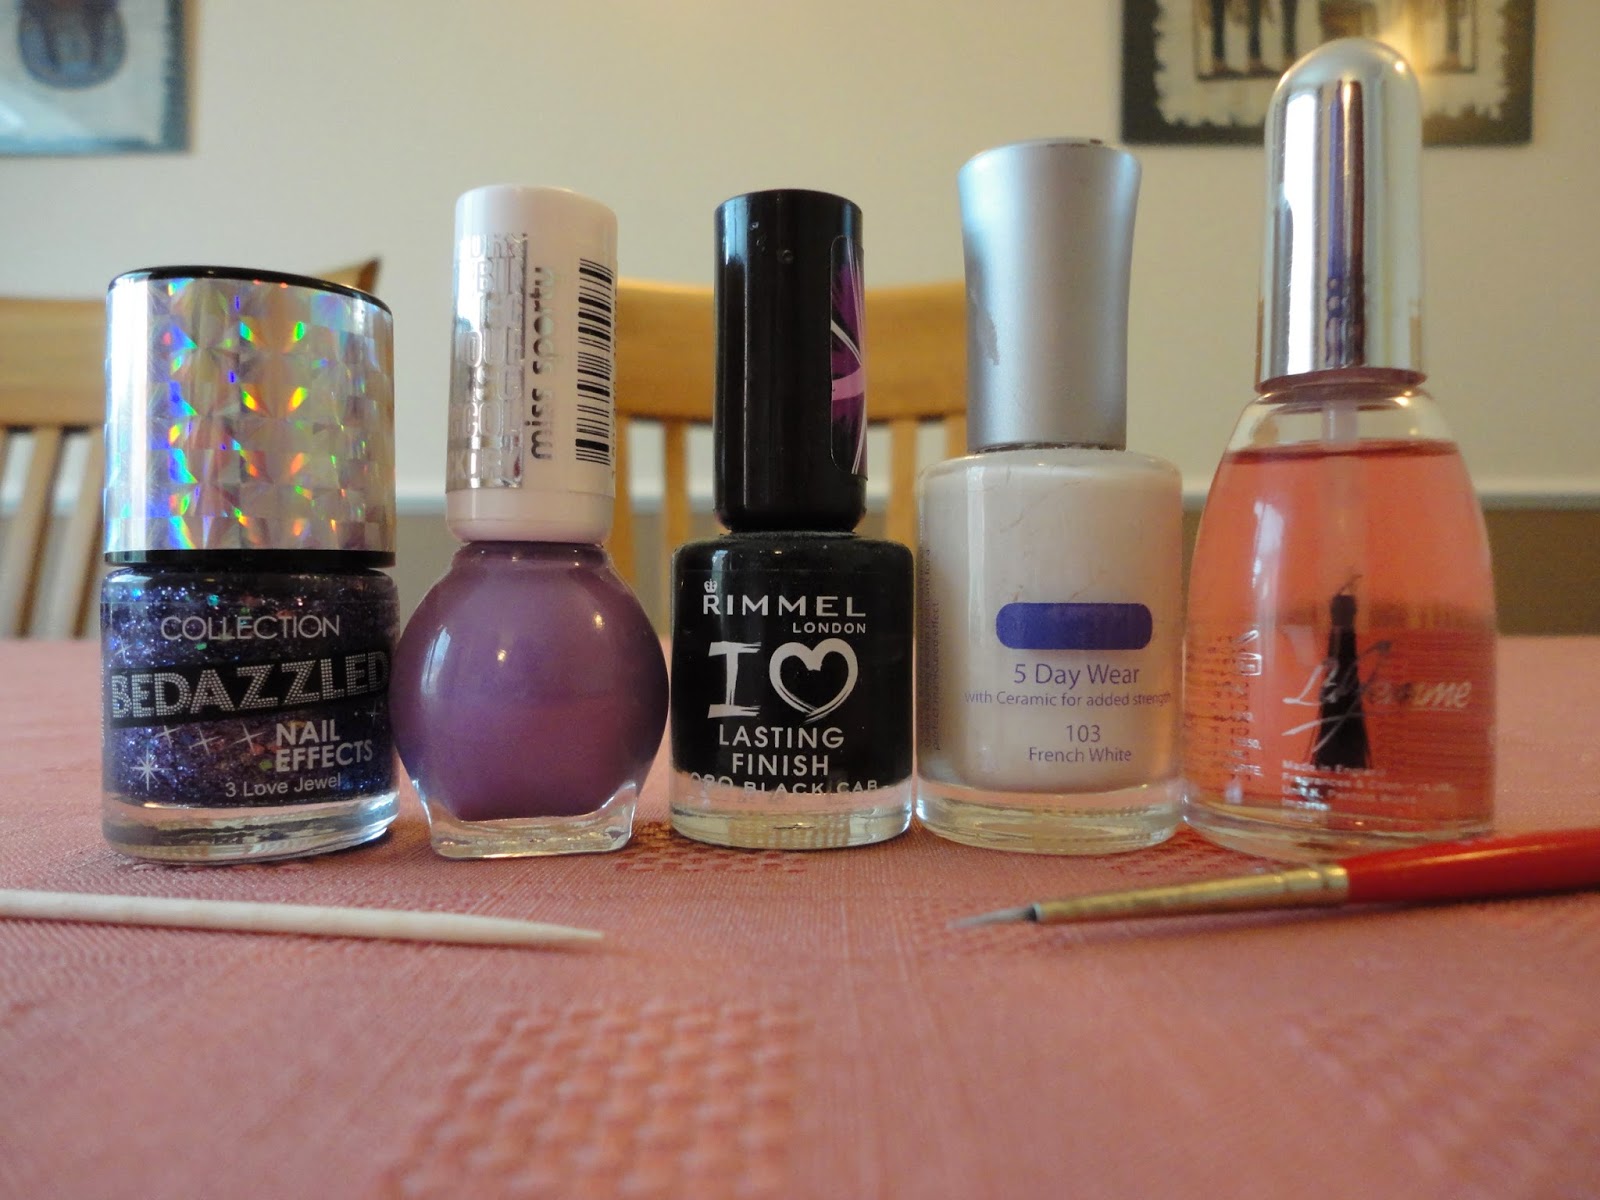
| Tools |
I used:
- Collection French Mani 322 French Pink
- Rimmel 60 Seconds 703 White Hot Love
- Barry M Black Nail Art Pen
- La Femme Top Coat 118
- Sponge
- Circular gems
Step 1
Paint your nails with the nude nail varnish.

Step 2
Using the sponge, dab white onto the tips of your nails, making it fade from the tip upwards.

Step 3
Using the black nail art pen, draw half a snowflake, as described in this previous post, against the cuticle.

Step 4
Paint over the whole nail with the top coat and, while it is still wet, place a gem in the centre of the snowflake. Then, once it has dried, cover it all in another top coat to stop the gem falling off.
If you have any suggestions or questions, please email them to nail.art12345@gmail.com or leave a comment below. And don't forget to head over to our Facebook page and hit like!