Birthday Nails!
Rating: *
 |
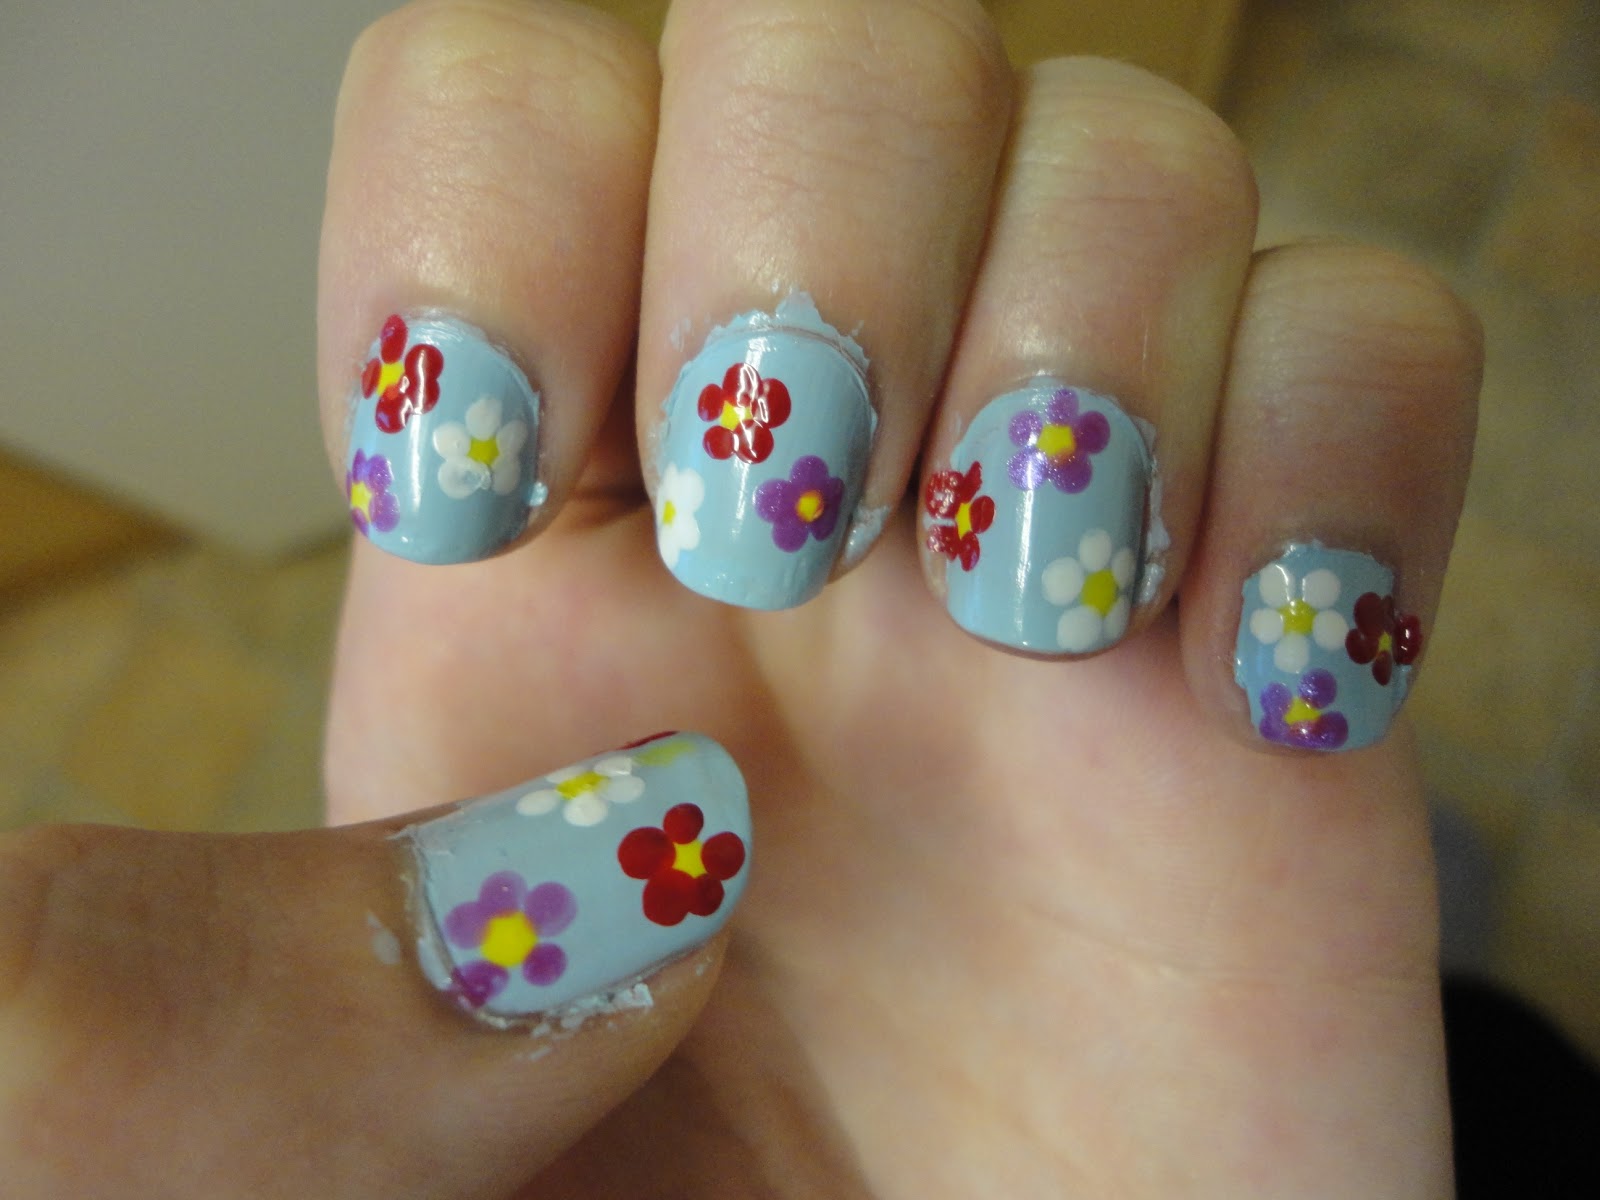
| Finished Nails |
 |
| Tools |
I used:
- 'Collection 2000 103 French White'
- 'Rimmel Lasting Finish 500 Disco Ball'
- 'Barry M 290 Spring Green'
- 'Collection 44 Parma Violet'
- 'Rimmel Lasting Finish 030 Double Decker Red'
- 'Miss Beauty No. 21 Sunset'
- 'Rimmel Lasting Finish 280 Sunshine'
- 'Rimmel Lasting Finish 198 Azure'
- 'Collection 2000 Nail Care Top Coat'
- A tissue
- Nail varnish remover
- A small, metal banded paintbrush (plastic would dissolve!) - I used size 10/0
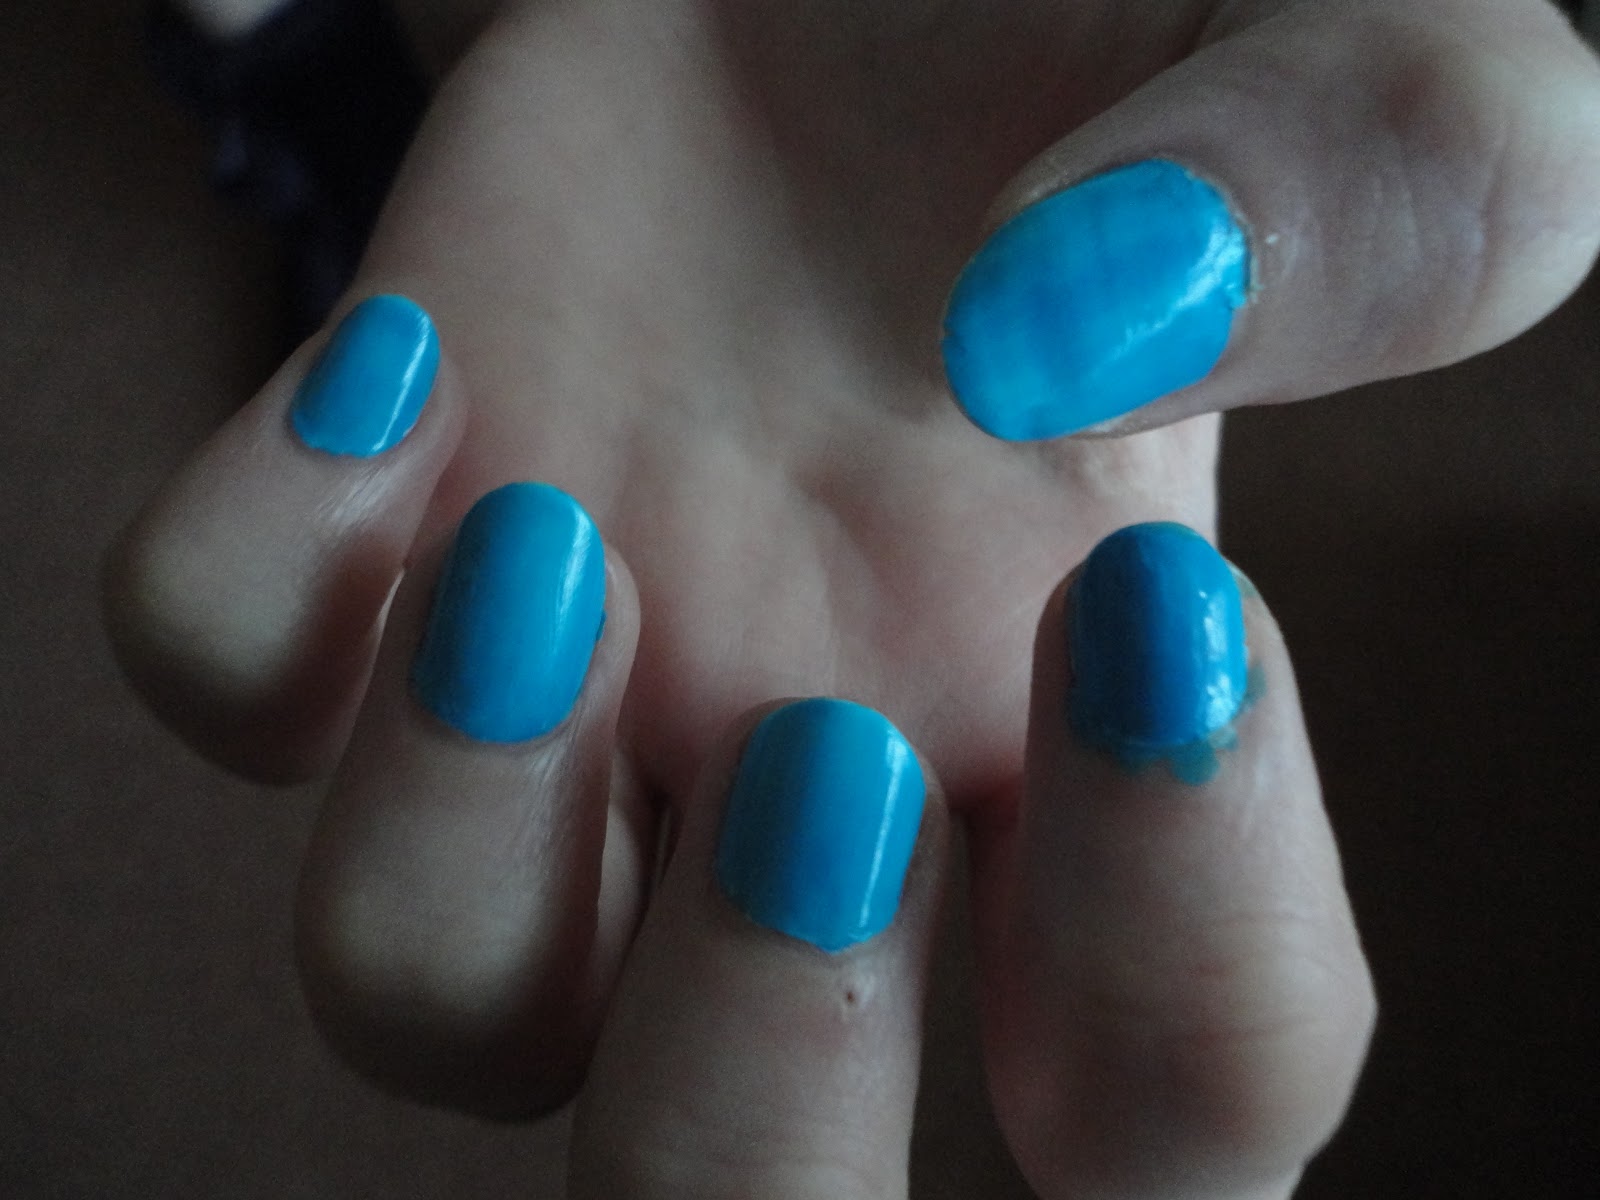
Step 1
Paint your nails white. Don't worry if it is messy, you can clean it up at the end either with a
cotton bud and nail varnish remover or you can peel it off!

Step 2
Paint over the white with a coat of sparkly. Try not to get too many sparkles on each nail or it will look cluttered.

Step 3
Using the paintbrush, paint a balloon shape with the green on your thumbs. Position it slightly to one side to allow for the other balloon.

Step 4
Using the paintbrush, paint another balloon shape with the purple on your thumbs. If need be, repeat steps 3 and 4 with another coat of varnish.

Step 5
Add on the strings of the balloons using the black.

Step 6
Paint wavy lines on each of your other fingers for the streamers. I chose to do three on each finger but you can do as many or as few as you like. I also chose to do them in several colours but, if you want it to look more uniform, you could use different shades of one colour or two complementing colours.

Step 7
Paint over each nail with the top coat to seal in the design.
Finally, clean up around the nails to make them look neat.
If you have any suggestions or questions, please email them to nail.art12345@gmail.com or leave a comment below


