Rudolph Nails!
Rating: *****
 |
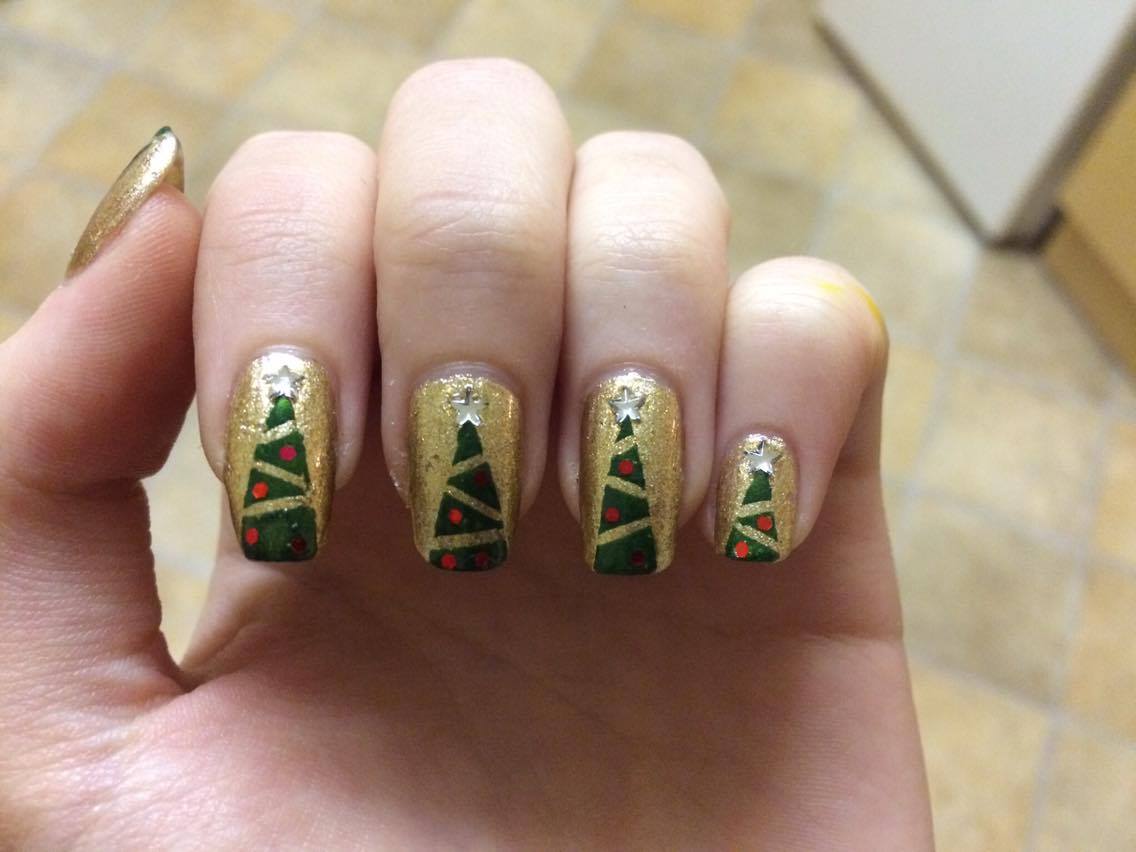
| Finished Nails |
 |
| Tools |
I used:
- Barry M MTNP3 633
- Kiko 014
- Rimmel White
- Collection 2000 Blackjack 2
- Collection 2000 Berry Hot 19
- Small paintbrush
- Small dotting tool
Step 1
Paint your nails silver.

Step 2
Paint a half circle at the tip of each nail.

Step 3
Using the paintbrush, add antlers to the top of each circle.

Step 4
Using the dotting tool, add white circles for the eyes.

Step 5
Using the dotting tool, add slightly smaller black dots in the centre of each white dot.

Step 6
Add half an oval of red at the tip of each nail for the nose.

Finally, cover your nails in the top coat to protect them.
If you have any suggestions or questions, please email them to nail.art12345@gmail.com or leave a comment below. And don't forget to head over to our Facebook page and hit like!