Showing posts with label gradient nails. Show all posts

Sunday, 27 January 2019

Bauble String Nails!

Bauble String Nails!

Rating: ****

Finished Nails
Tools
I used:
  • Cairuo Blueberry 17
  • Barry M Blackjack
  • Lulaa Liquid Latex
  • Rimmel 430 Porcelain
  • Claire’s 30509 Magic Show
  • Sinful Colours Top Shine
  • Make up sponge
  • Small dotting tool     

Step 1

Paint your nails with the bright blue.
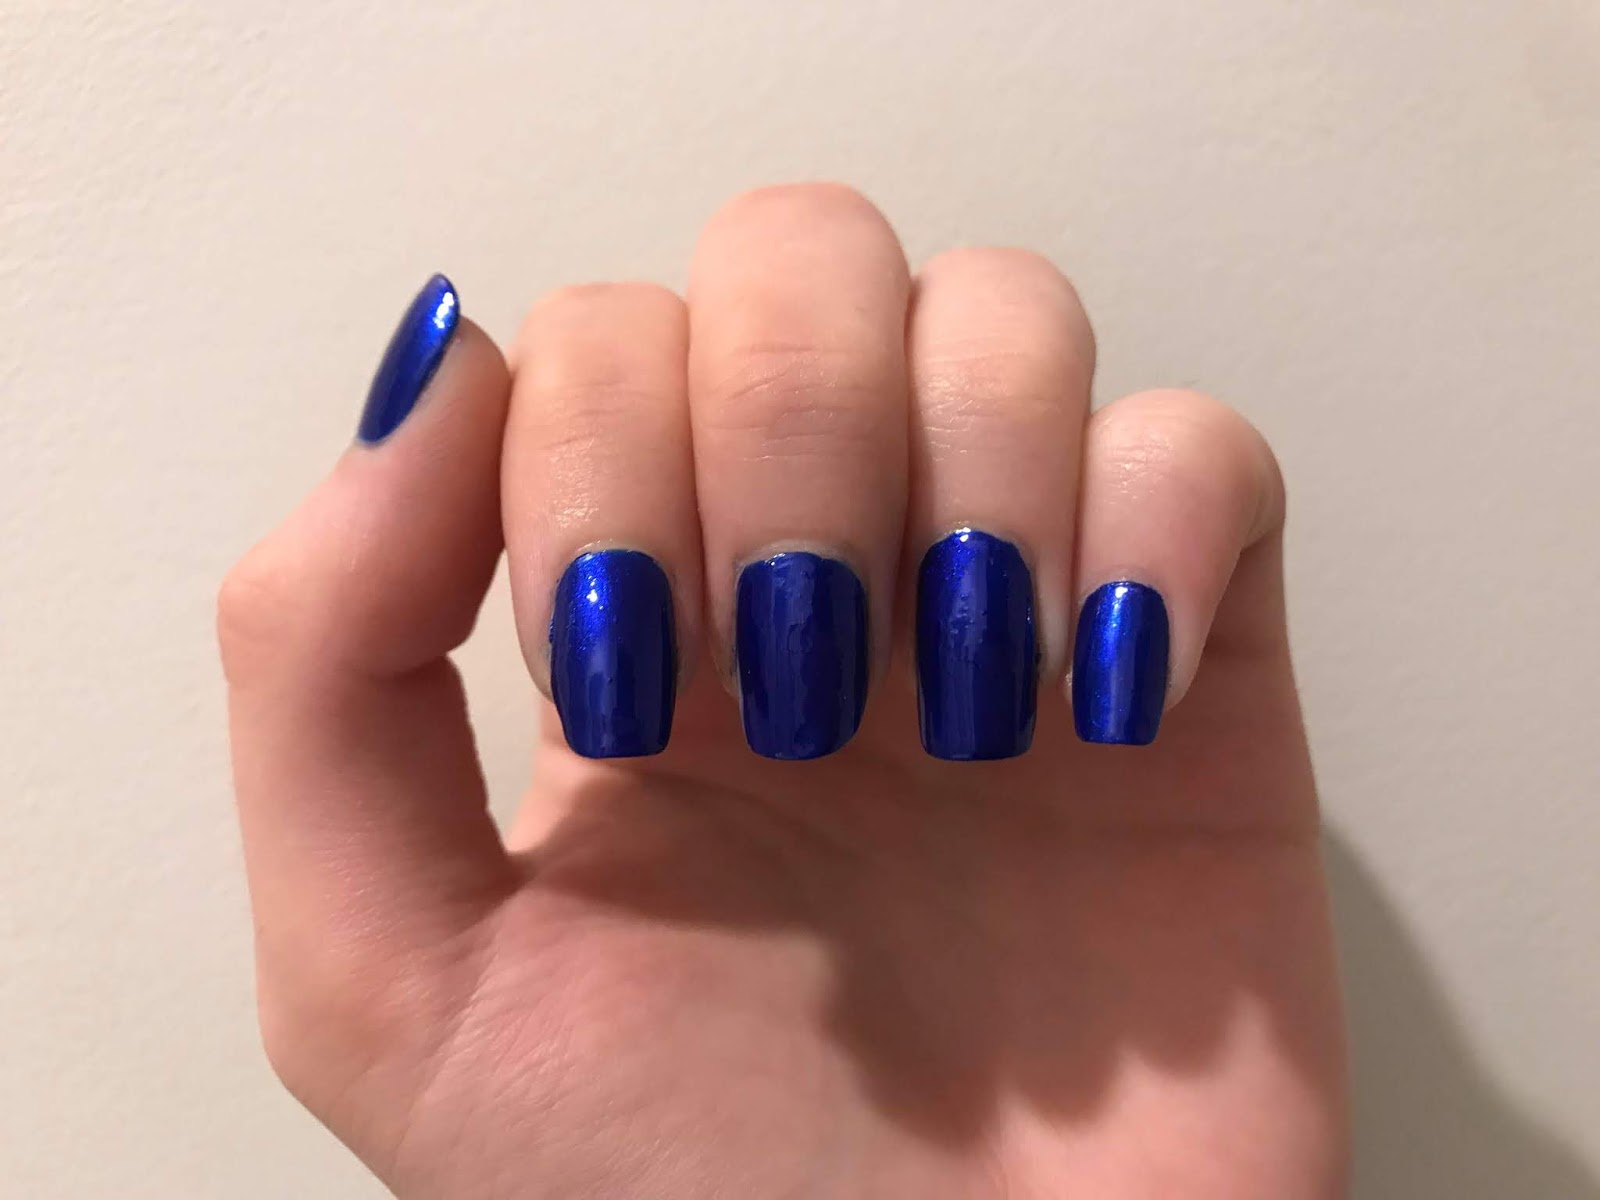

Step 2

Using a sponge, create a gradient effect with the darkest patches in opposite corners of your nail.


Step 3

Paint over all your nails with the top coat to smooth out the design.


Step 4

Paint white stripes down the length of your nails, of varying lengths.


Step 5

Using the dotting tool, add white dots down each of the string, making them all different sizes.


Step 6

Add small blue dots to the larger white dots.


Step 7

Add a small amount of glitter to the tip of each nail.


Finally, cover your nails in the top coat to protect them.

If you have any suggestions or questions, please email them to nail.art12345@gmail.com or leave a comment below.
And don't forget to head over to our Facebook page and hit like or follow us on Instagram!


Sunday, 4 November 2018

Pink Lacy Nails!

Pink Lacy Nails!

Rating: **

Finished Nails!
Tools

I used:
  • Barry M 629 Matte White
  • L.A. Girls Gel Pink
  • Barry M Blackjack
  • Pinpai Black Stamping Polish
  • Claires Silver Glitter
  • Cairuo Top Coat
  • Barry M Matte Top Coat
  • Sponge
  • Small paintbrush
  • Small and medium dotting tools
  • Lace design stamper

Step 1

Using the sponge, paint a gradient on your nails from dark pink at the tips to white at the base.


Step 2

Using the paintbrush, paint 3 thick black lines running the length of your thumb and ring finger nails.


Step 3

Use the stamper to print the lace design onto your first and little finger nails.


Step 4

Paint your middle finger with the silver glitter.


Step 5

Using the dotting tools, put one large dot in the middle of your middle finger, near the base, and add 3 smaller ones either side of it.


Finally, cover all your nails, except the glittery one, in the matte top coat to protect them. Cover the glittery nails in the regular top coat.

If you have any suggestions or questions, please email them to nail.art12345@gmail.com or leave a comment below.
And don't forget to head over to our Facebook page and hit like or follow us on Instagram!


Sunday, 16 September 2018

Stamped Rose Nails

Stamped Rose Nails!

Rating: **


Finished Nails
Tools
I used:
  • Miss Beauty 357 Rouge
  • Miss Sporty 4011
  • Pinpai White Stamping Polish
  • Sinful Colours 903 Top Shine  
  • Sponge (not pictured)
  • Stamping patterns and transfer tool 

Step 1

Paint a red to pink gradient on your nails with a sponge. 


Step 2

Select the rose pattern you are going to use and paint over all of it with the white. Use the transfer tool to transfer the rose pattern to your nail.


Finally, cover your nails in the top coat to protect them.

If you have any suggestions or questions, please email them to nail.art12345@gmail.com or leave a comment below. And don't forget to head over to our Facebook page and hit like or follow us on Instagram!


Sunday, 5 November 2017

Tigger Nails!

Tigger Nails!

Rating: ****

Finished Nails
Tools

I used:
  • Barry M 629 White
  • Rimmel 452 Chin Up Buttercup
  • Miss Beauty 21 Sunset
  • Miss Sporty 480
  • Collection 2000 Blackjack
  • Barry M 705 Quick dry top coat
  • Make-up sponge
  • Small paintbrush
  • Small dotting tool

Step 1

Paint your nails white.


Step 2

Using the make-up sponge, paint a yellow to orange gradient on all your fingers except the ring fingers.


Step 3

Paint black stripes over the top of the gradients, alternating which side they start from.


Step 4

On the ring fingers, paint a pale pink oval in the middle, slightly below the centre.


Step 5

Paint the top and bottom parts of your nail yellow.


Step 6

Fill in the remaining white sections on the ring fingers with orange.


Step 7

Add eyes using the dotting tool, and eyebrows and whiskers using the paintbrush to the face.


Finally, cover your nails in the top coat to protect them.

If you have any suggestions or questions, please email them to nail.art12345@gmail.com or leave a comment below. And don't forget to head over to our Facebook page and hit like!  


Sunday, 22 October 2017

Graveyard Nails!

Graveyard Nails!

Rating: ***

Finished Nails
Tools

I used:

  • Barry M 629 Matte White
  • Barry M 634 Black
  • Colour Cosmetic 07
  • Barry M Matte Top Coat
  • Make-up sponge
  • Small paintbrush

Step 1

Paint your nails white.


Step 2

Using the make-up sponge and the black and white nail varnishes, paint a gradient on your nails, with black at the tips.


Step 3

Using the paintbrush, paint gravestones on the tips of your nails. 


Step 4

Cover the nails in the matte top coat to protect them.


If you have any suggestions or questions, please email them to nail.art12345@gmail.com or leave a comment below. And don't forget to head over to our Facebook page and hit like!  

Sunday, 8 October 2017

Autumn Glitter Gradient!

Autumn Glitter Gradient

Rating: *

Finished Nails
Tools
I used:
  • La Femme Gold
  • Miss Sporty 063
  • La Femme Jupiter 84
  • Barry M 705 Quick dry top coat
  • Make-up sponge

Step 1

Using the makeup sponge, dab the gold glitter onto each nail, making it thick at the tip and fading up to nothing at the base of the nail.


Step 2

Using the makeup sponge, dab the orange over the top of the gold, stopping further from the tip than you did with the gold. 


Step 3

Using the makeup sponge again, dab the red over the top of the orange, stopping even further from the tip than with the previous two colours.


Finally, cover your nails in the top coat to protect them.

If you have any suggestions or questions, please email them to nail.art12345@gmail.com or leave a comment below. And don't forget to head over to our Facebook page and hit like!    


Sunday, 24 September 2017

Blue and White Gradient Nails!

Blue and White Gradient Nails!

Rating: **

Finished Nails
Tools
I used:
  • Barry M 629 Matte White
  • Barry M 306 Blueberry
  • Color Show 661 Ocean Blue
  • Barry M Quick Dry Top Coat 704
  • Striping tape
  • Makeup sponge

Step 1

Paint your nails white. 


Step 2

Stick 3 or 4 pieces of striping tape across your nails. I also find it is a good idea to put liquid latex around your nails when doing gradients as it makes cleaning up your fingers much easier!


Step 3

Using the sponge, paint white, pale blue, and dark blue stripes on it and dab it on each nail to create the gradient. You may need to reapply the varnish a few times for each finger. Once you are happy with the gradient, carefully and quickly peel off the tape in the reverse order you applied it, and the liquid latex if you've used it.


Finally, cover your nails in the top coat to protect them.

If you have any suggestions or questions, please email them to nail.art12345@gmail.com or leave a comment below. And don't forget to head over to our Facebook page and hit like!  


Wednesday, 16 August 2017

Sunset Beach Nails

Sunset Beach Nails!

Rating: *****

Celebrating 5 years since our first post


Finished Nails
Tools


I used:

  • Seventeen Pink 59628
  • Miss Beauty 21 Sunset
  • Color Show 749 Electric Yellow 
  • Black acrylic paint 
  • Barry M Quick Dry Top Coat 704
  • Make up sponge 
  • Small detailing brush

Step 1

Paint a gradient on your nails with the pink, orange and yellow nail varnishes using the make up sponge.


Step 2

Using the small paintbrush, add a palm tree or two to each nail. To paint the trees, first add a stripe for the trunk then 5 stripes radiating from the top keeping them curving downwards at the tips for the branches. Then carefully add little flecks along each branch for the leaves. Finally add a very rough line for the ground at the base of the tree.


Finally, cover your nails in the top coat to protect them.
 
If you have any suggestions or questions, please email them to nail.art12345@gmail.com or leave a comment below. And don't forget to head over to our Facebook page and hit like!