Sunday 27 July 2014

Chick nails!

Chick Nails!

Rating: ***


Finished nails
Tools

I used:
  • Color Show 749 Electric Yellow
  • Miss Beauty 21 Sunset
  • Rimmel 080 Black Cab
  • Rimmel 703 White Hot Love
  • Barry M 54 Clear
  • Small metal tipped paintbrush
  • Small dotting tool

Step 1

Paint your nails with the yellow nail varnish.


Step 2

Use the paintbrush to paint a small triangle in the middle of the nail with the point facing towards the tip. This will be the beak of the chick.


Step 3

Paint some small ridges at the tip of the nail. These will be the feet of the chick.


Step 4

Paint two black dots above the triangle using the dotting tool. These will form the beginning of the chick's eyes.


Step 5

Paint two smaller white dots on top of the black dots using the dotting tool. These will form the rest of the chick's eyes. Finally, cover the design with the top coat to protect it.


If you have any suggestions or questions, please email them to nail.art12345@gmail.com or leave a comment below 

Sunday 13 July 2014

American Flags Mark II!

American Flags Mark II


Here are some more American nails, for a really belated Independence Day and to celebrate me visiting America!

Rating: *****

Finished nails
Tools
Gems

I used:
  • Rimmel 703 White Hot Love
  • Collection 2000 5 Fire Engine
  • Barry M 417 Blue Grape
  • Barry M 54 Clear
  • Striping tape
  • Star gems

Step 1

Paint your nails white.

Step 2

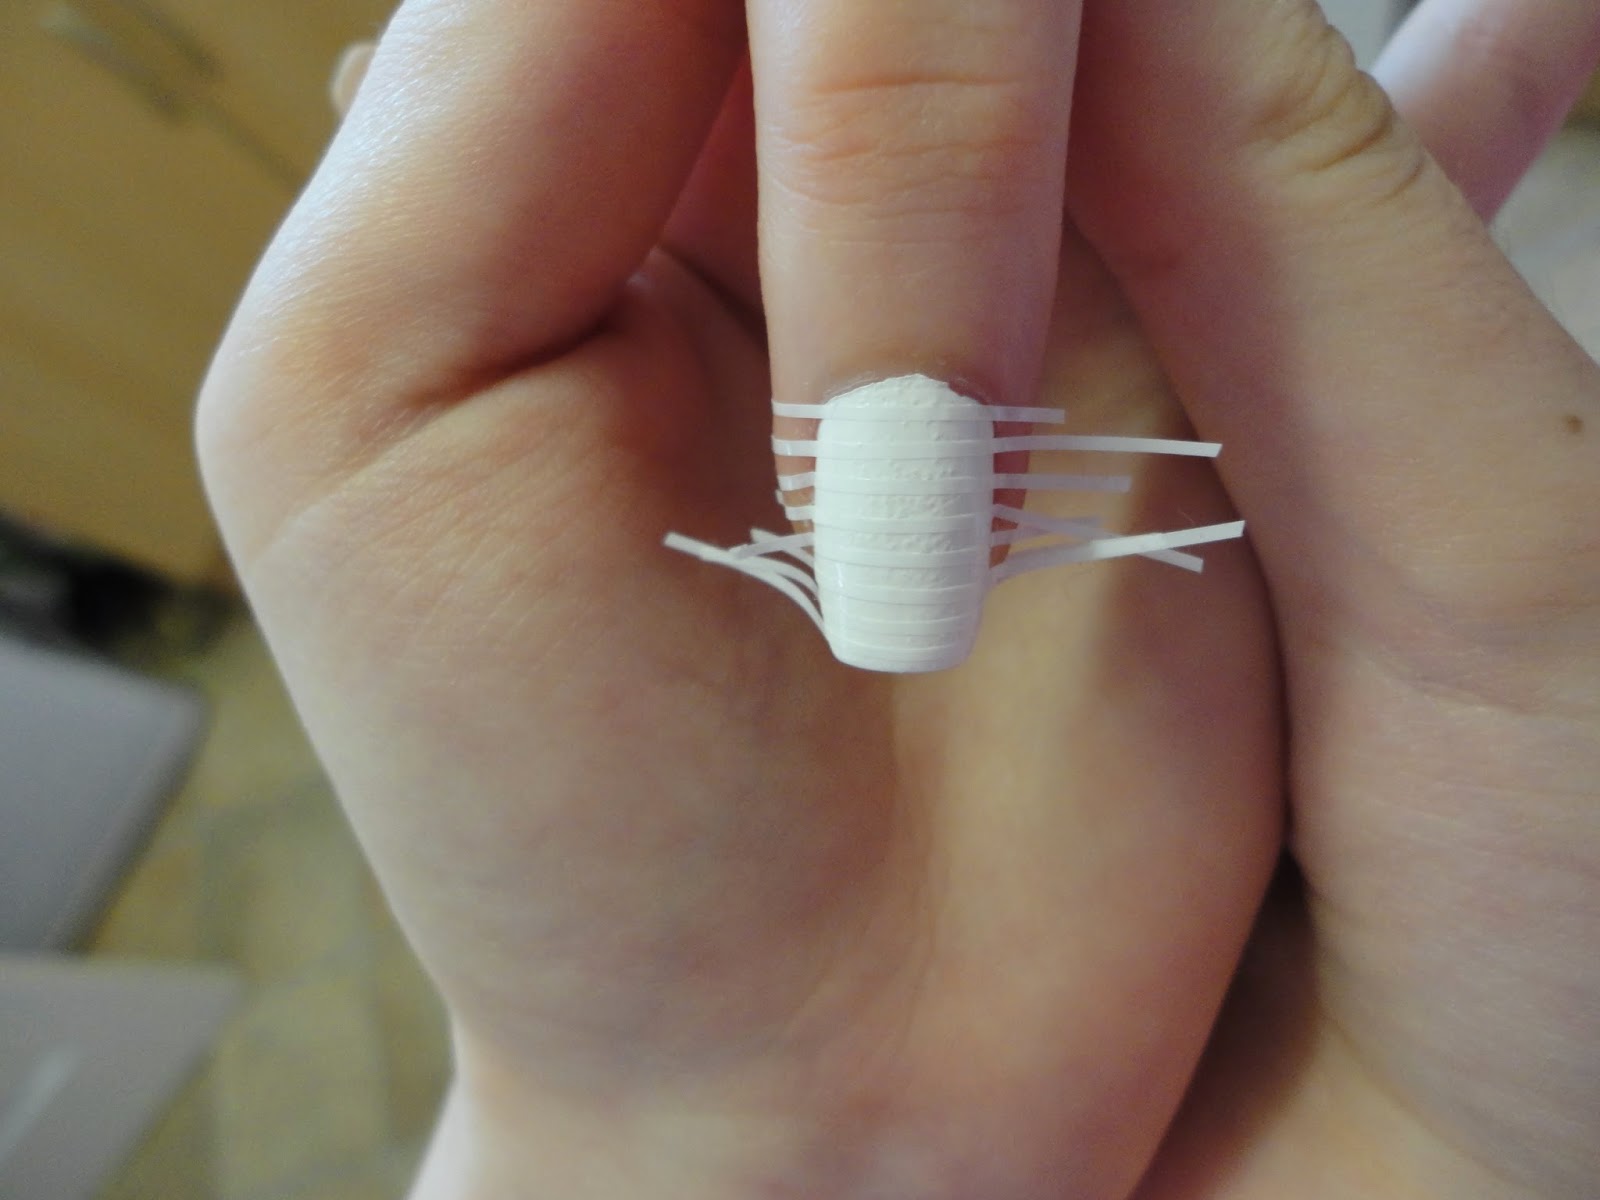
Use the striping tape to create red stripes across the nails, like the American flag. If it smudges, like mine did on the little finger, you can use a paintbrush to correct it or you can cover it up in the next step.


Step 3

Paint a white section anywhere on the nail. Make each one different and try not to have any straight edges. If it smudged in the previous step, you can put the white section over the top to save time fixing it!


Step 4

Paint over the white sections using the blue.


Step 5

Paint over the design with a top coat. Then add some gems to the blue section while it is still wet.


Step 6

Paint over the whole design with another top coat or two to seal in the gems

If you have any suggestions or questions, please email them to nail.art12345@gmail.com or leave a comment below 

Sunday 6 July 2014

American Flag Nails!

American Flag Nails!

In honour of it being Independence Day across the pond last Friday and the fact that I'm on holiday in America soon, I thought I would do a twist on regular American flag nails. 

Rating: ****

Finished nails
Tools
Stamper


I used:
  • Rimmel 703 White Hot Love
  • Color Show 661 Ocean Blue
  • Collection 20005 Fire Engine
  • Barry M 54 Clear
  • Small metal tipped paintbrush
  • Salon Express Stamper

Step 1

Paint all your nails white.


Step 2

Paint your thumbs blue.


Step 3

Use the paintbrush to paint the stripes on all your fingers (not the thumb).


Step 4

Using the large star from the star and moon stamper with the white nail varnish, place a few stars on the thumb. Don't put too many or it will look crowded and make sure they don't overlap.


Step 5

Cover the design in the clear top coat to protect it and smooth it all out. I also paired this with painted toes since I'll be wearing sandals a lot over the summer. I did my big toes blue and the others alternating red and white to look vaguely like the flag.


If you have any suggestions or questions, please email them to nail.art12345@gmail.com or leave a comment below