Showing posts with label striped nails. Show all posts

Sunday, 27 January 2019

Bauble String Nails!

Bauble String Nails!

Rating: ****

Finished Nails
Tools
I used:
  • Cairuo Blueberry 17
  • Barry M Blackjack
  • Lulaa Liquid Latex
  • Rimmel 430 Porcelain
  • Claire’s 30509 Magic Show
  • Sinful Colours Top Shine
  • Make up sponge
  • Small dotting tool     

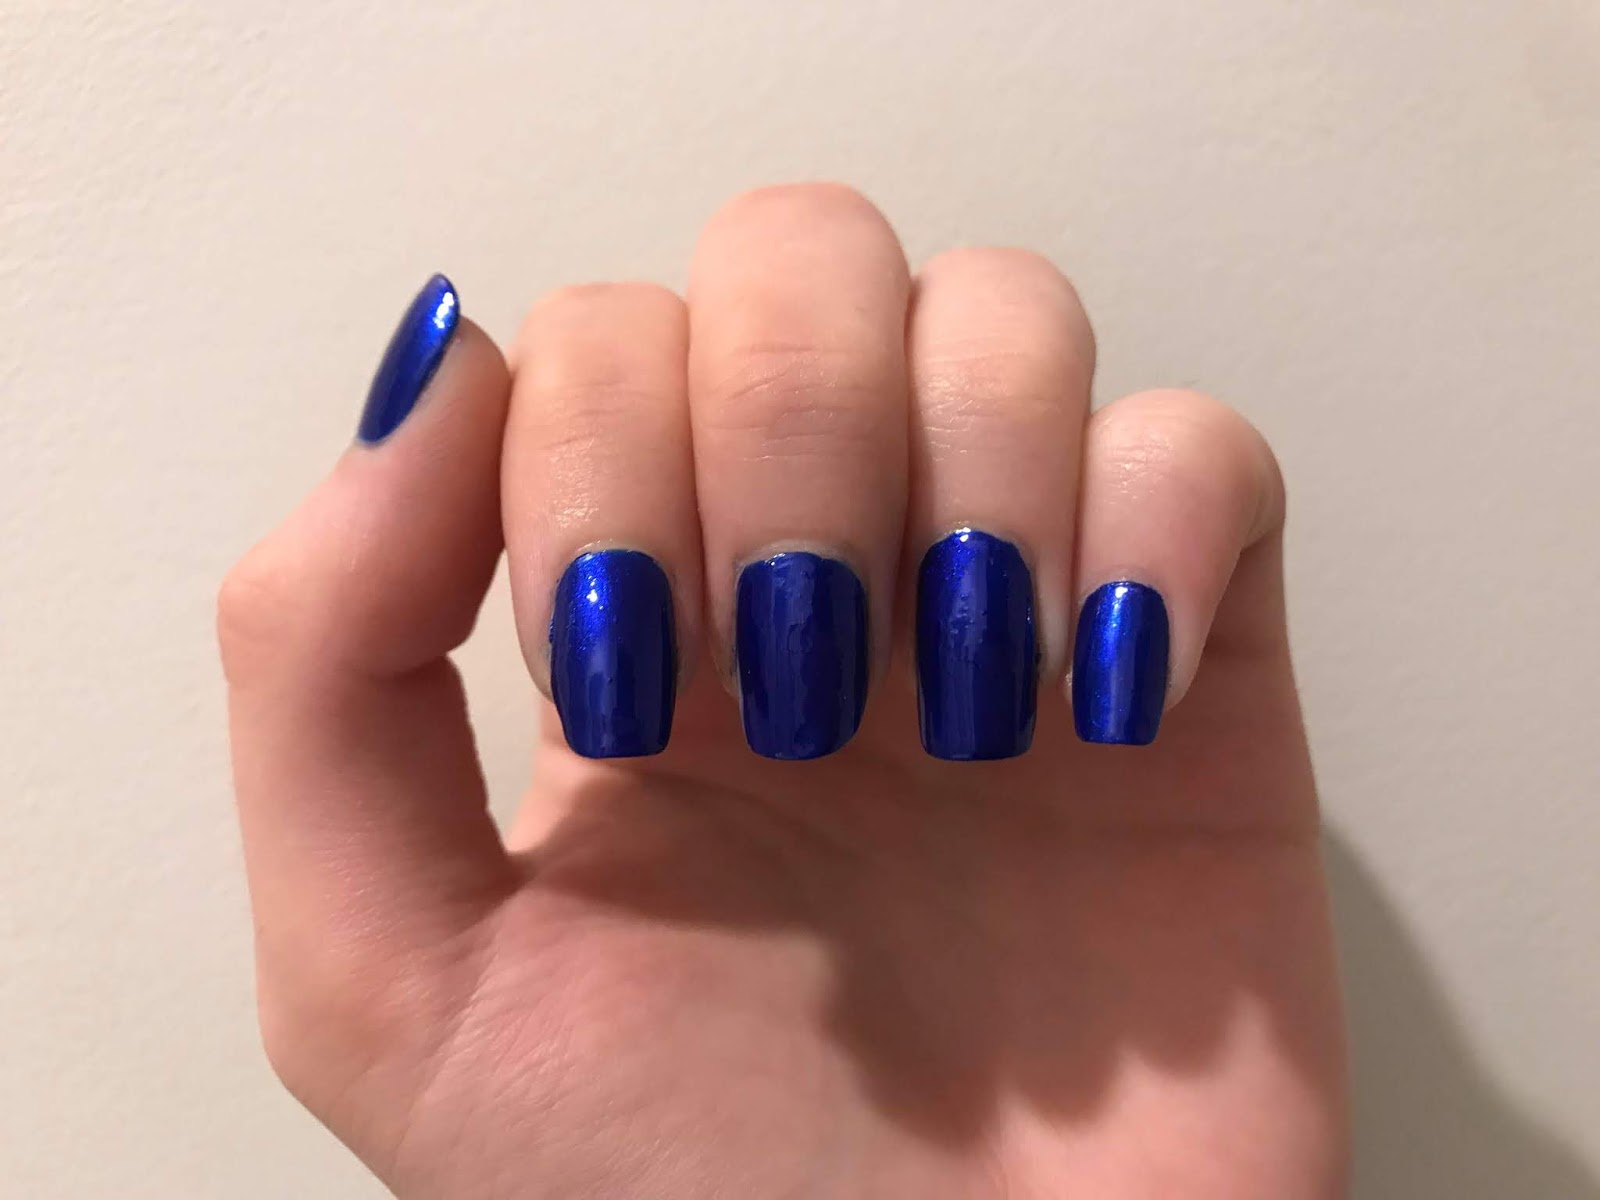
Step 1

Paint your nails with the bright blue.

Step 2

Using a sponge, create a gradient effect with the darkest patches in opposite corners of your nail.


Step 3

Paint over all your nails with the top coat to smooth out the design.


Step 4

Paint white stripes down the length of your nails, of varying lengths.


Step 5

Using the dotting tool, add white dots down each of the string, making them all different sizes.


Step 6

Add small blue dots to the larger white dots.


Step 7

Add a small amount of glitter to the tip of each nail.


Finally, cover your nails in the top coat to protect them.

If you have any suggestions or questions, please email them to nail.art12345@gmail.com or leave a comment below.
And don't forget to head over to our Facebook page and hit like or follow us on Instagram!


Sunday, 30 September 2018

Piglet Nails!

Piglet Nails!

Rating: **


Finished Nails
Tools

I used:
  • Miss Sporty 4011
  • Colour Cosmetic 150
  • Barry M Blackjack
  • Sinful Colours 903 Top Shine 
  • Small paintbrush
  • Small dotting tool

Step 1

Paint your nails pink.


Step 2

Using the paintbrush, paint 3 black lines across all fingers except your ring fingers.


Step 3

Using a paintbrush, paint a dark pink triangle, with the point facing away from the tip, in the center of both of your ring fingers.


Step 4

Using a dotting tool, add two small dots above the triangle, for Piglet's eyes.


Step 5

Using the paintbrush, add a smile and eyebrows to Piglet's face.


Finally, cover your nails in the top coat to protect them.

If you have any suggestions or questions, please email them to nail.art12345@gmail.com or leave a comment below.
And don't forget to head over to our Facebook page and hit like or follow us on Instagram!

Sunday, 19 August 2018

Purple and Gold Striped Nails!

Purple and Gold Striped Nails!

Rating: **
 
Finished Nails!
Tools

I used:

  • Lottie LL024 Gimme the Beat
  • Claire's 30508 Magic Snow
  • Rimmel 345 Black Cherries 
  • Sinful Colours 903 Top Shine
  • Masking tape
  • Thin gold tape  

Step 1

Paint your nails with the silver.


Step 2

Paint over the silver with the glitter.


Step 3

Stick some masking tape length-ways along the center of your nail. Paint over the whole nail with the purple, then remove the tape immediately.


Step 4

Stick a piece of the gold tape along both joins on every nail. You may need to use tweezers to align it correctly and hold down the ends while it sticks.


Finally, cover your nails in a thick top coat to protect them and hold the tape on properly.

If you have any suggestions or questions, please email them to nail.art12345@gmail.com or leave a comment below. And don't forget to head over to our Facebook page and hit like!   


Sunday, 10 June 2018

Tartan Nails!

Tartan Nails!

Rating: **

Finished Nails!
Tools
I used:
  • Barry M 634 Raspberry
  • Barry M Blackjack
  • Barry M 632 Gold Digger
  • Essence 01 Absolute Pure
  • Striping brush

Step 1

Paint your nails in the deep red.


Step 2

Using the striping brush, paint black lines up and down and across your nails. Make each nail slightly different, with some slightly thicker lines but mostly thin ones.


Step 3

Using the striping brush, paint one gold line across each nail and one gold line up and down the nail.


Finally, cover your nails in the top coat to protect them.

If you have any suggestions or questions, please email them to nail.art12345@gmail.com or leave a comment below. And don't forget to head over to our Facebook page and hit like!   


Sunday, 29 April 2018

Red V-neck Nails II!

Red V-neck Nails II!

Rating: ***


Finished Nails
Tools

I used:
  • Collection 2000 357 Rouge
  • Collection 2000 Blackjack
  • Barry M 705 Quick dry top coat
  • Striping tape
  • Small paintbrush 

Step 1

Cover your nails in the top coat and then paint a red 'v' shape at the tip of each nail, freehand using the normal nail varnish brush.


Step 2

Using the small paintbrush, paint black cross hatches across the clear section of your nails.


Step 3

Add black dots along the join between the red and the clear sections.


Finally, cover your nails in the top coat to protect them.

If you have any suggestions or questions, please email them to nail.art12345@gmail.com or leave a comment below. And don't forget to head over to our Facebook page and hit like!  


Sunday, 18 March 2018

Black 'n' Silver Nails!

Black 'n' Silver Nails!

Rating: ***


Finished nails
Tools

I used:
  • Collection 2000 Blackjack 2
  • Barry M MNTP3 633
  • Primark Mini Silver Glitter
  • Colour Cosmetic 07 Top Coat
  • Silver glitter
  • Small paintbrush 

Step 1

Paint your nails black.


Step 2

Using the paintbrush, paint curved silver lines on your nails.


Step 3

Fill in some of the gaps between the silver lines with the glitter nail polish. You could use the paintbrush or the nail polish brush itself.


Step 4

Using the top coat, stick some silver glitter dots to the silver lines. You may wish to use tweezers to position the dots and ensure they are pushed down onto the nail completely.


Finally, cover your nails in a thick layer of top coat to protect them and make sure the glitter doesn't fall off.

If you have any suggestions or questions, please email them to nail.art12345@gmail.com or leave a comment below. And don't forget to head over to our Facebook page and hit like!   


Sunday, 18 February 2018

Pastel Rainbow Stripes Nails!

Pastel Rainbow Stripes Nails!

Rating: **


Finished Nails
Tools
I used:
  • Barry M 245 Gold
  • Barry M 304 Mint Green
  • Barry M 306 Blueberry I/C
  • Barry M 348 Prickly Pear
  • Miss Sporty 480 Baby Pink
  • Barry M 705 Quick dry top coat
  • Striping tape

Step 1

Paint your nails gold.


Step 2

Put three strips of striping tape across each nail.


Step 3

Paint each section of the nail a different pastel colour. I used green, blue, purple, and pink. I did all the nails the same but you could change the ordering for the ring finger to make it an accent nail if you wanted. Make sure you remove the tape immediately after you have painted the colours either side of it so you don't end up pulling the nail varnish off once it is dry.


Finally, cover your nails in the top coat to protect them.

If you have any suggestions or questions, please email them to nail.art12345@gmail.com or leave a comment below. And don't forget to head over to our Facebook page and hit like!   


Sunday, 24 September 2017

Blue and White Gradient Nails!

Blue and White Gradient Nails!

Rating: **

Finished Nails
Tools
I used:
  • Barry M 629 Matte White
  • Barry M 306 Blueberry
  • Color Show 661 Ocean Blue
  • Barry M Quick Dry Top Coat 704
  • Striping tape
  • Makeup sponge

Step 1

Paint your nails white. 


Step 2

Stick 3 or 4 pieces of striping tape across your nails. I also find it is a good idea to put liquid latex around your nails when doing gradients as it makes cleaning up your fingers much easier!


Step 3

Using the sponge, paint white, pale blue, and dark blue stripes on it and dab it on each nail to create the gradient. You may need to reapply the varnish a few times for each finger. Once you are happy with the gradient, carefully and quickly peel off the tape in the reverse order you applied it, and the liquid latex if you've used it.


Finally, cover your nails in the top coat to protect them.

If you have any suggestions or questions, please email them to nail.art12345@gmail.com or leave a comment below. And don't forget to head over to our Facebook page and hit like!  


Sunday, 27 August 2017

Blue White Cross Hatched Nails!

Blue White Cross Hatched Nails!

Rating: *


Finished Nails
Tools
Stamp

I used:
  • 702 Supersonic
  • White stamping polish
  • Barry M Quick Dry Top Coat 704
  • Crossed lines nail stamp

Step 1

Paint your nails with the blue.


Step 2

Using the nail stamping tool, and the white stamping polish, stamp crossed white lines on each nail, making sure you cover each one completely.


Finally, cover your nails in the top coat to protect them.
 
If you have any suggestions or questions, please email them to nail.art12345@gmail.com or leave a comment below. And don't forget to head over to our Facebook page and hit like!