Blue and White Striped Nails!
Rating: **
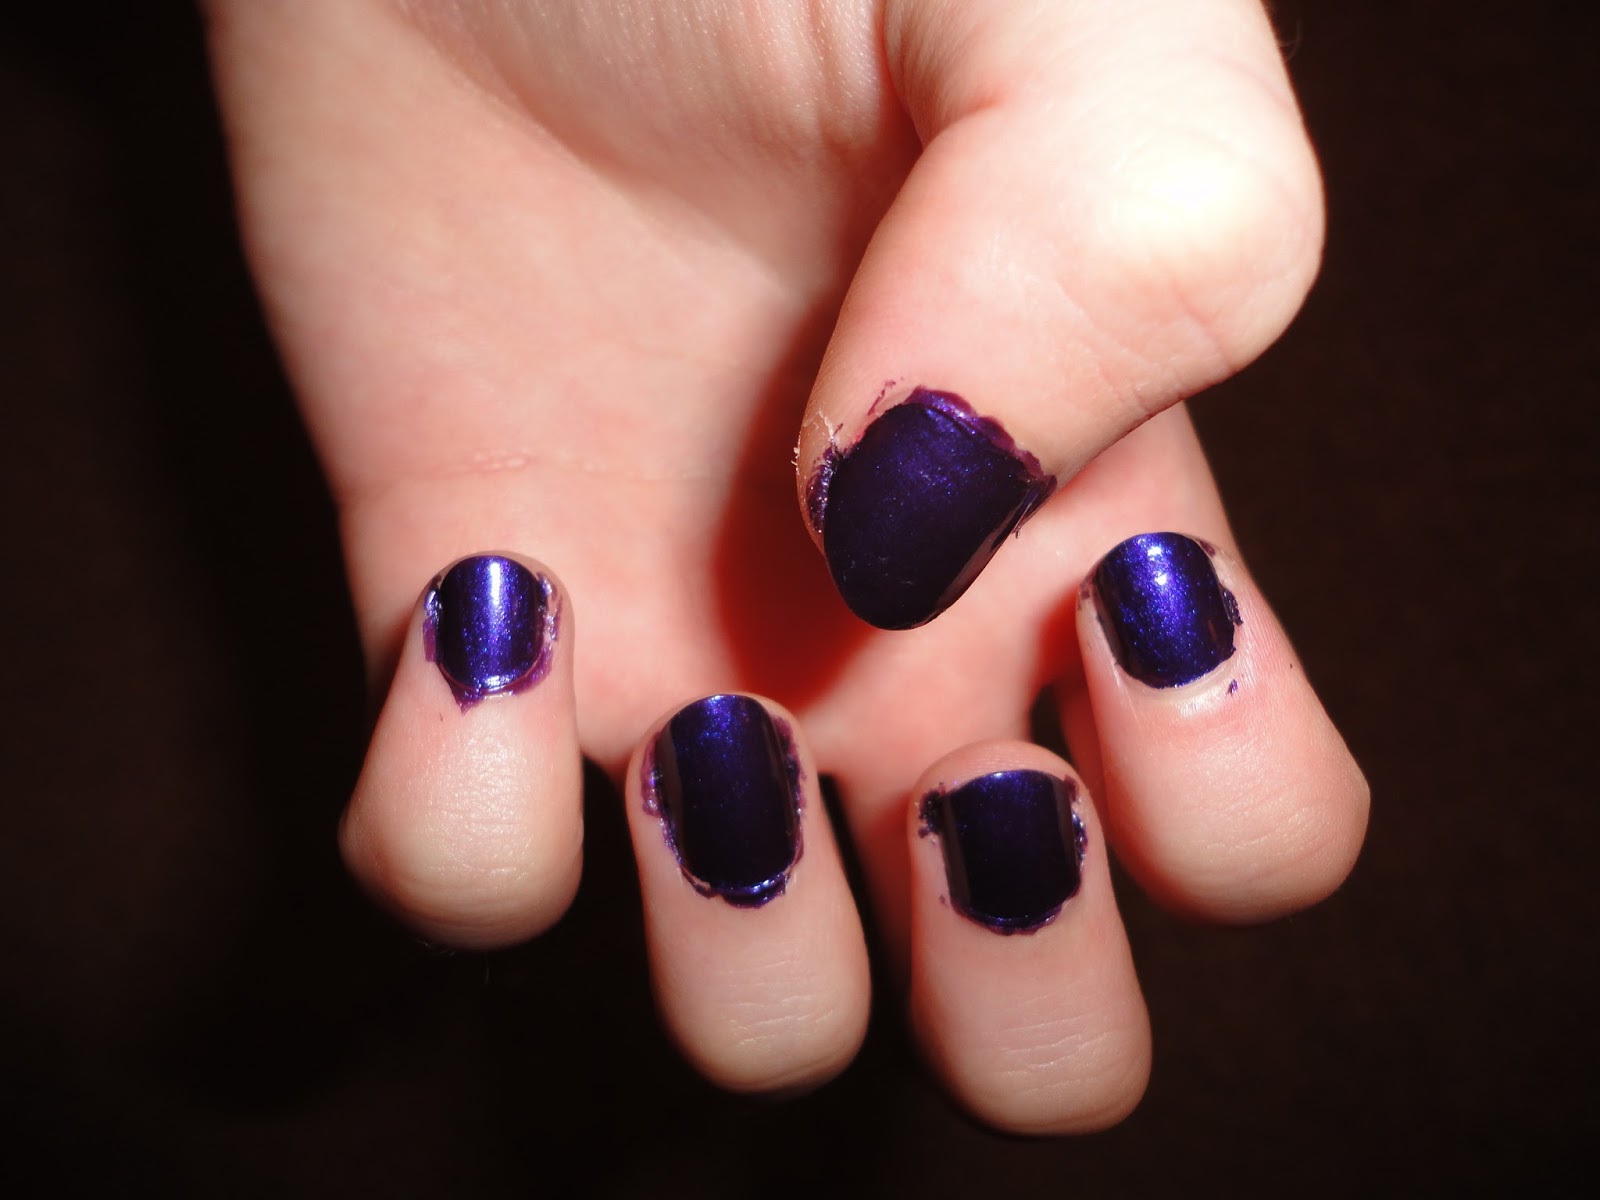
 |
| Finished nails |
 |
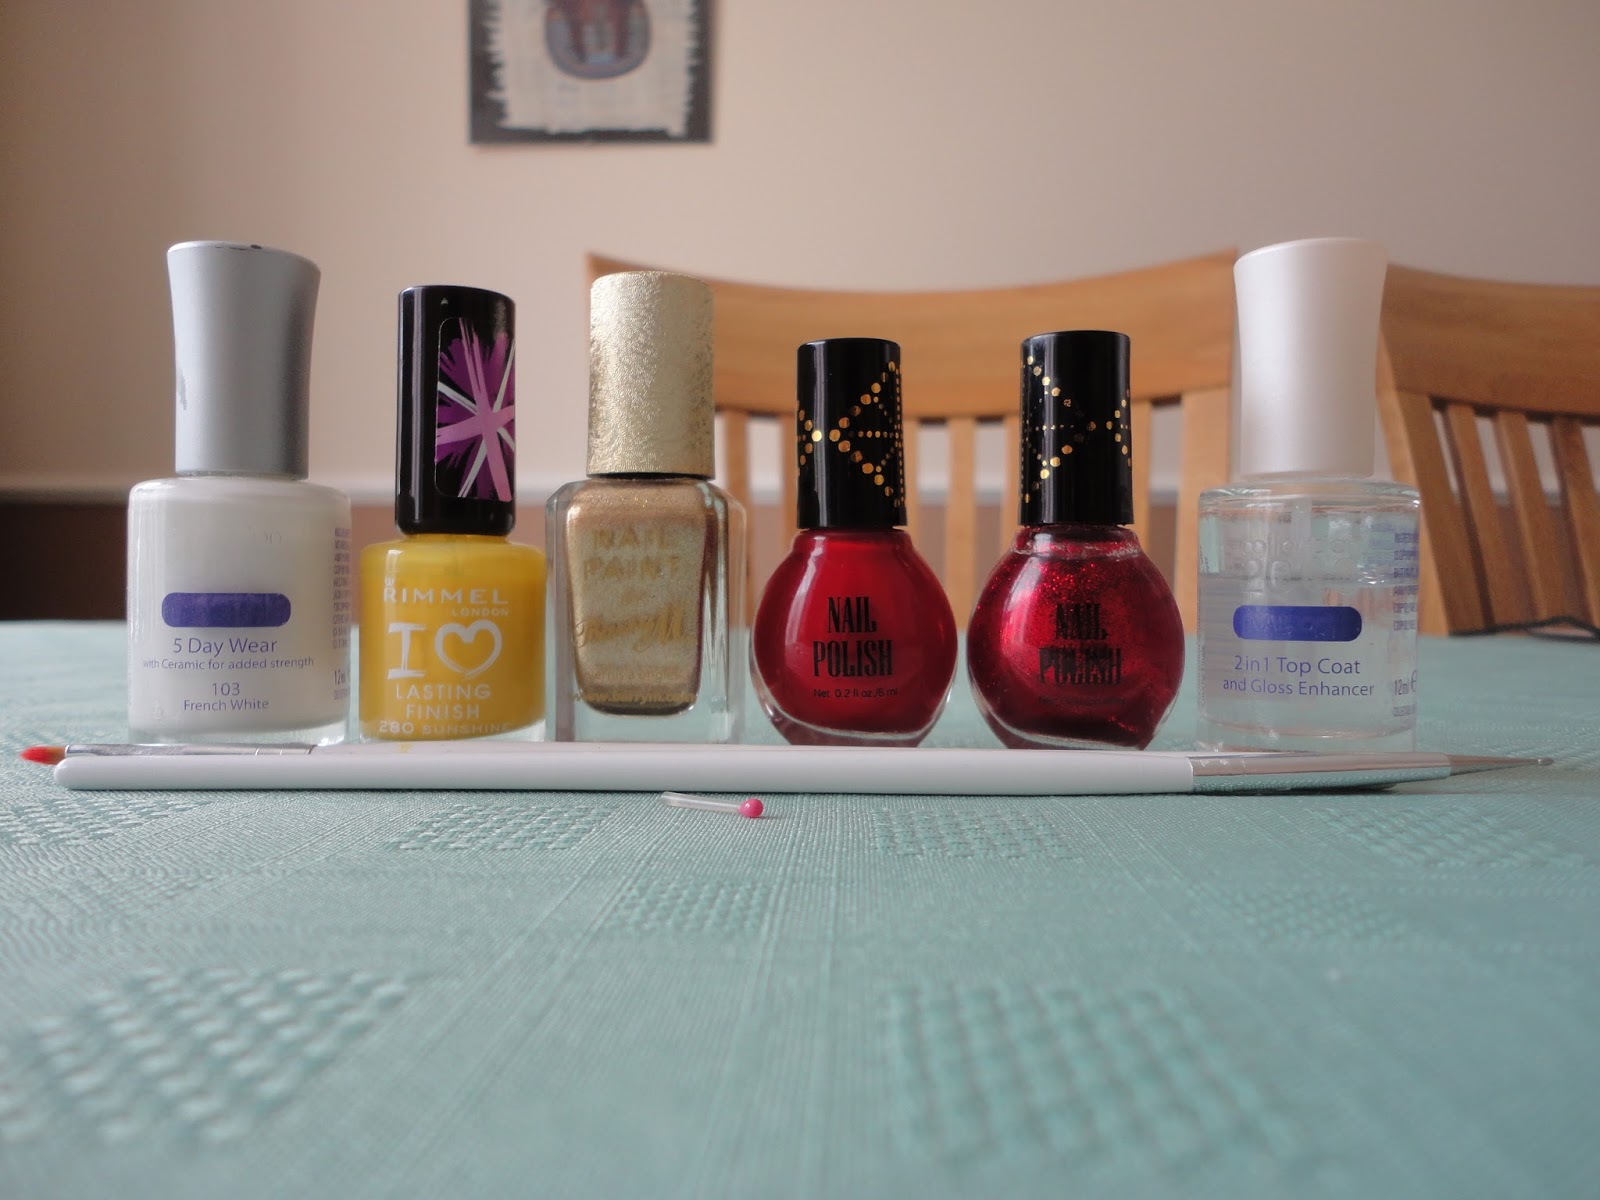
| Tools |
I used:
- 'Collection 2000 103 French White'
- '17 Heartbeat'
- '17 Seabreeze'
- 'Barry M Confetti Nails Liquorice' (optional)
- 'Collection 2000 Nail Care Top Coat'
- Sticky tape
Step 1
Paint some of your nails white and the rest with the pale blue. I chose to do them randomly although you could do alternating nails in opposite colours if you wanted.

Step 2
Paint a free hand line of the opposite colour down the nail. Wait a little longer than you would normally between these two steps to reduce the risk of getting the colours mixed together.

Step 3
Cut the tape into lots of long, thin strips and put them somewhere easy to pick up (I used the edge of the roll of tape). They need to be long enough that they will stick off both ends of your nails (making it easier for you to peel them back off!).

Step 4
Wait for ages for your nails to dry or the tape will pull off the varnish! Then, one nail at a time, stick the pieces of tape across the nail randomly. Make sure you remember what order you stick on the pieces and leave an end hanging over the edge of the nails so you can pull it off easily. Paint over the whole nail with the dark blue and immediately remove the tape in the opposite order to the order you stuck them on. This is quite messy so make sure you have a tissue on hand to wipe your fingers and some nail varnish remover for the stubborn bits! Repeat for all the other nails.

Step 5
Cover the nails in the top coat to seal the design in and clean up the mess around the top (which is inevitable).

Step 6 (optional)
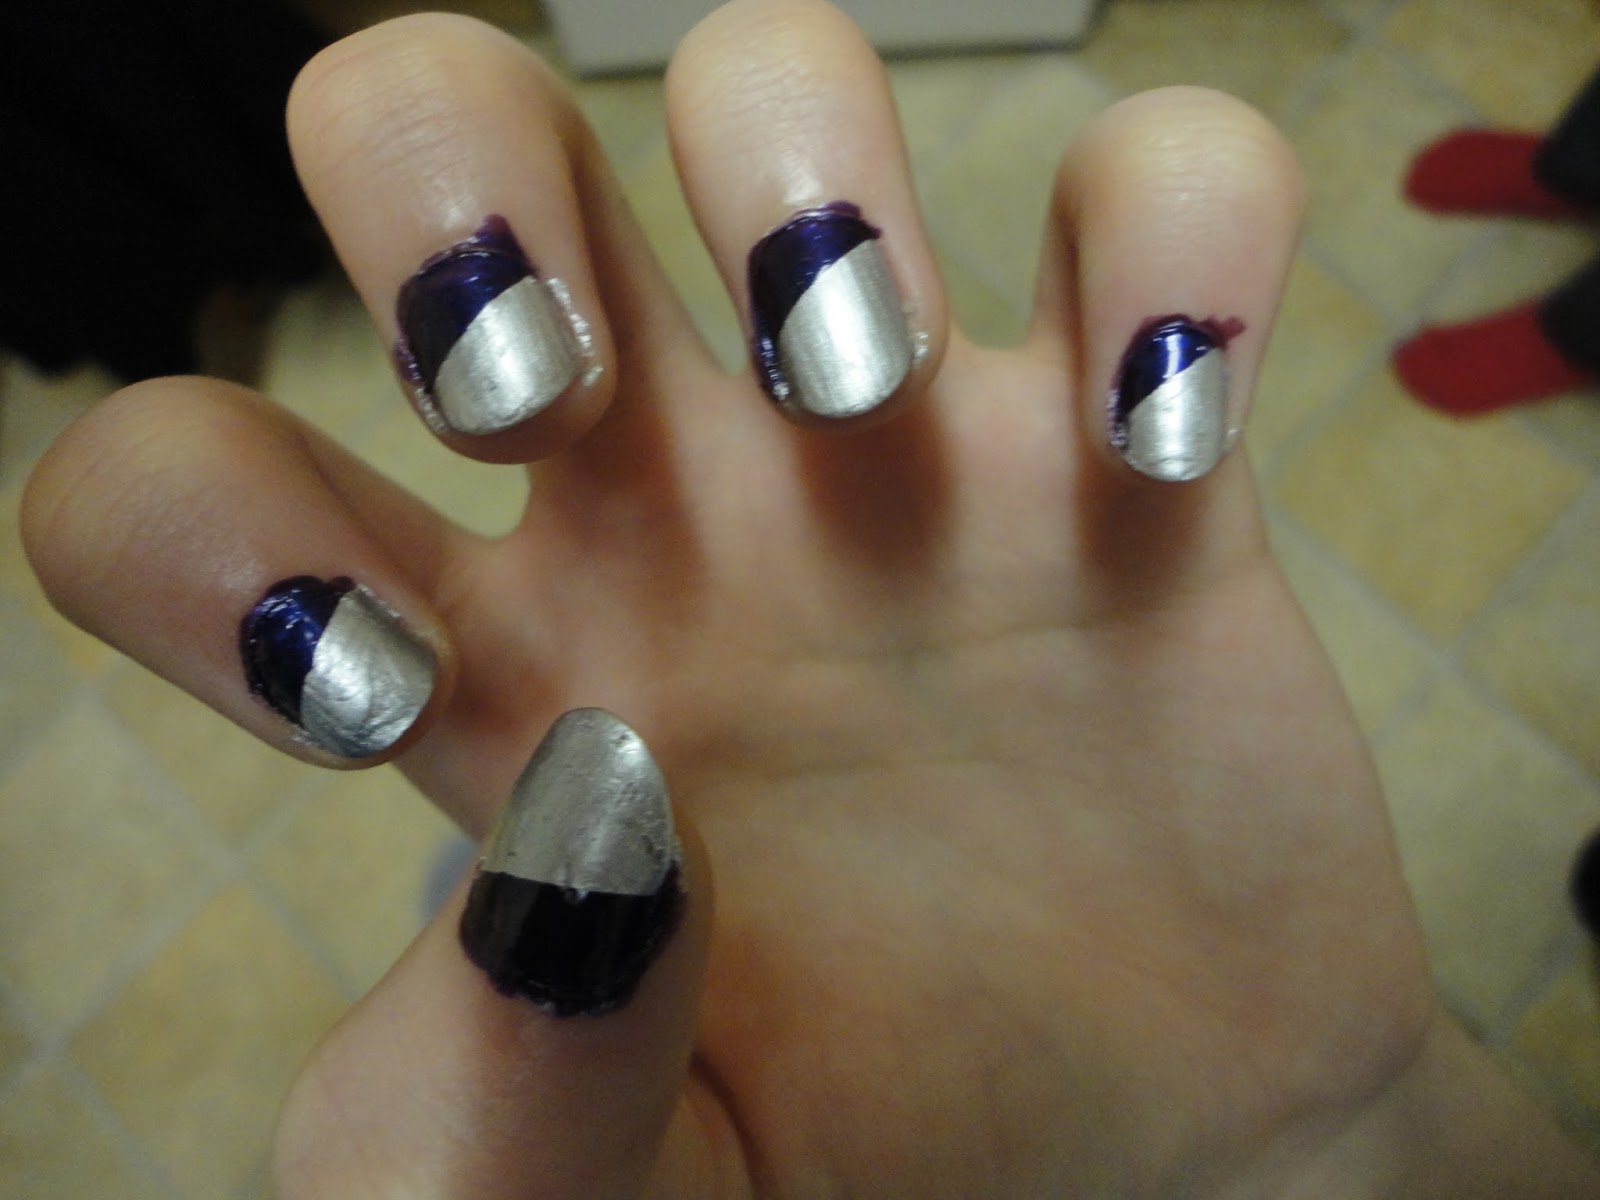
I originally wanted to cover the nails in the confetti varnish instead of the clear top coat however the confetti turned out thicker than I anticipated and it ended up looking messy. I was aiming for something like the little finger below but instead I pretty much covered up the design. However, if you would like to give it a try, feel free!

If you have any suggestions or questions, please email them to nail.art12345@gmail.com or leave a comment below