Spider Web Nails!
A perfect design for Hallowe'en this year
Rating: *
 |
| Finished nails |
 |
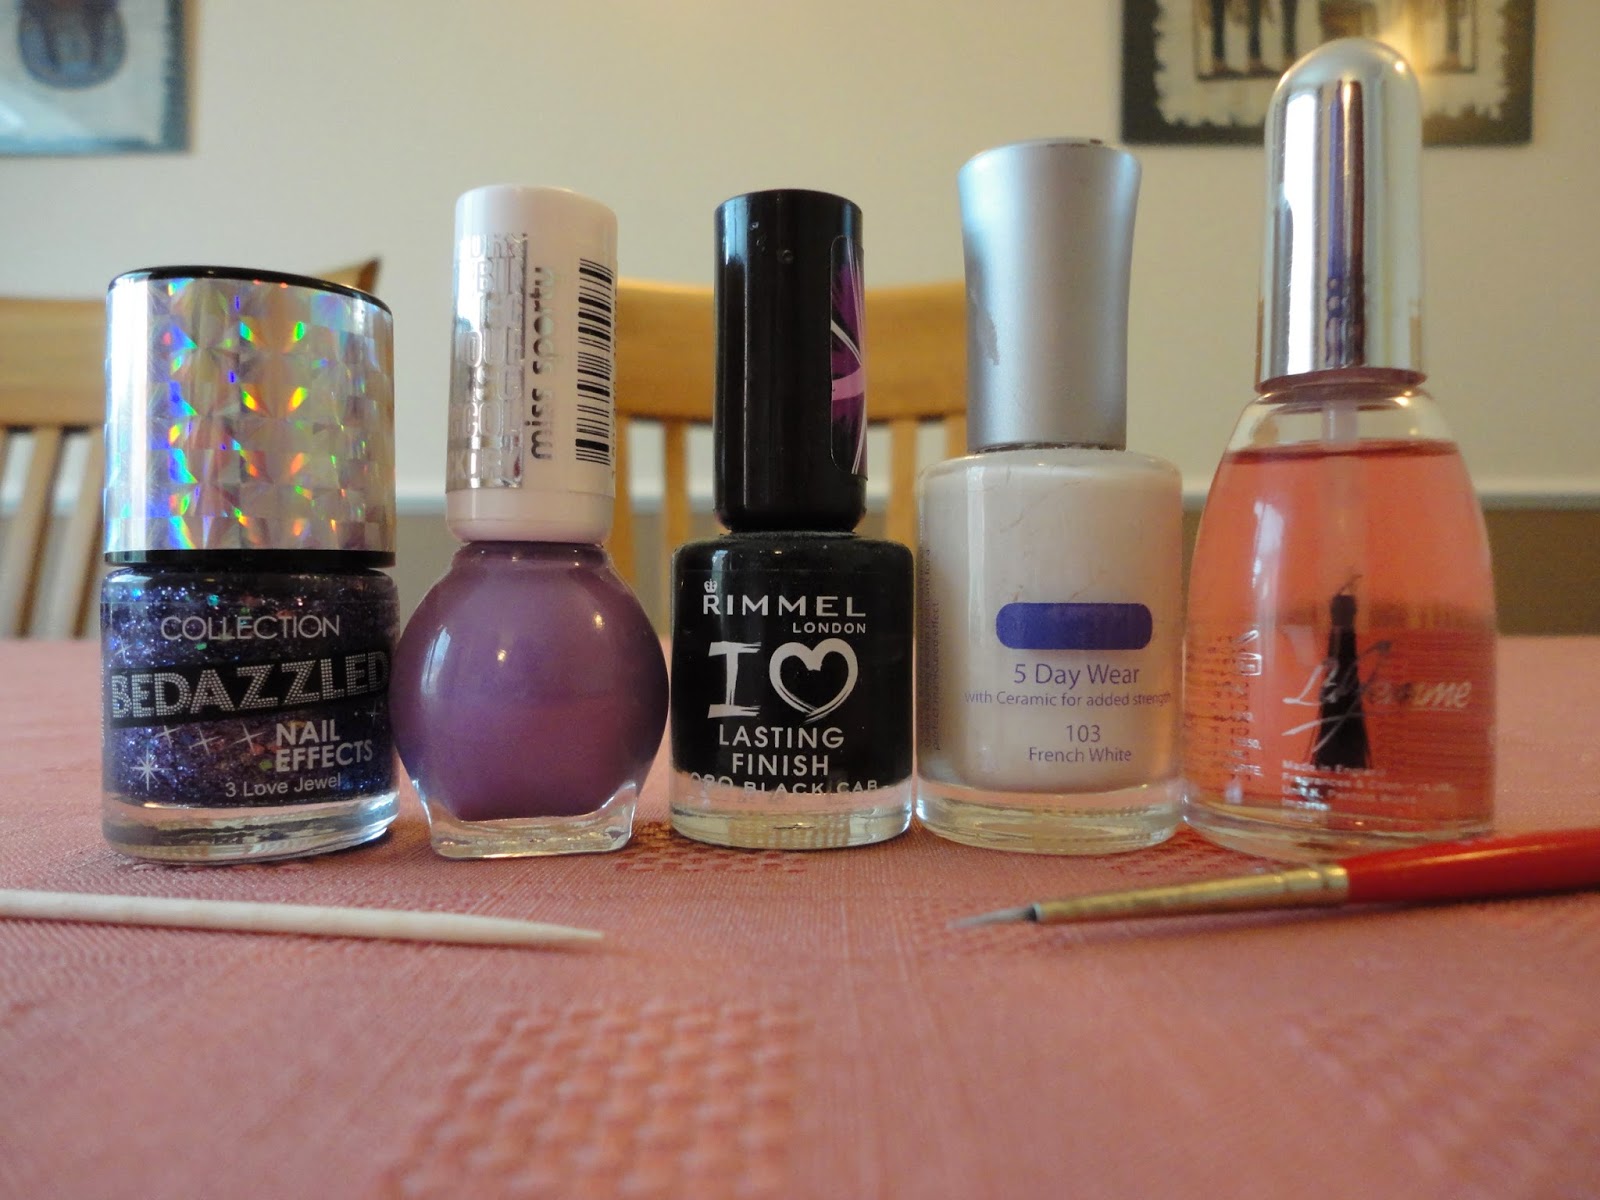
| Tools |
- H&M Sparkling Silver
- Barry M black nail art pen
- La Femme Top Coat 118
Step 1
Paint your nails silver.

Step 2
With the nail art pen, draw three lines from the middle of the base of your nail. Don't draw them all the way to the tip, you want to stop about half way down.

Step 3
With the pen, draw curvy lines joining up the spokes of the spider web. You will probably fit two rows in, unless you have really long nails!
Finally, cover the design with the top coat to protect it.
If you have any suggestions or questions, please email them to nail.art12345@gmail.com or leave a comment below. And don't forget to head over to our Facebook page and hit like!