Saturday, 1 June 2013

Leopard Print Nails!

Leopard Print Nails!

Rating: **

Firstly, I want to apologize that there has been a bit of a break in posting. It's exam season here in the UK so I can't wear nail varnish and I didn't have a back up plan. Hopefully everything should be back to normal soon.

Finished nails
Tools

I used:
  • 'Miss Sporty 344 Grape Fit'
  • 'Barry M 306 Blueberry I/C'
  • 'Barry M Nail Art Pen silver'
  • 'Barry M Nail Art Pen black'
  • 'Barry M 54 Clear'

Step 1

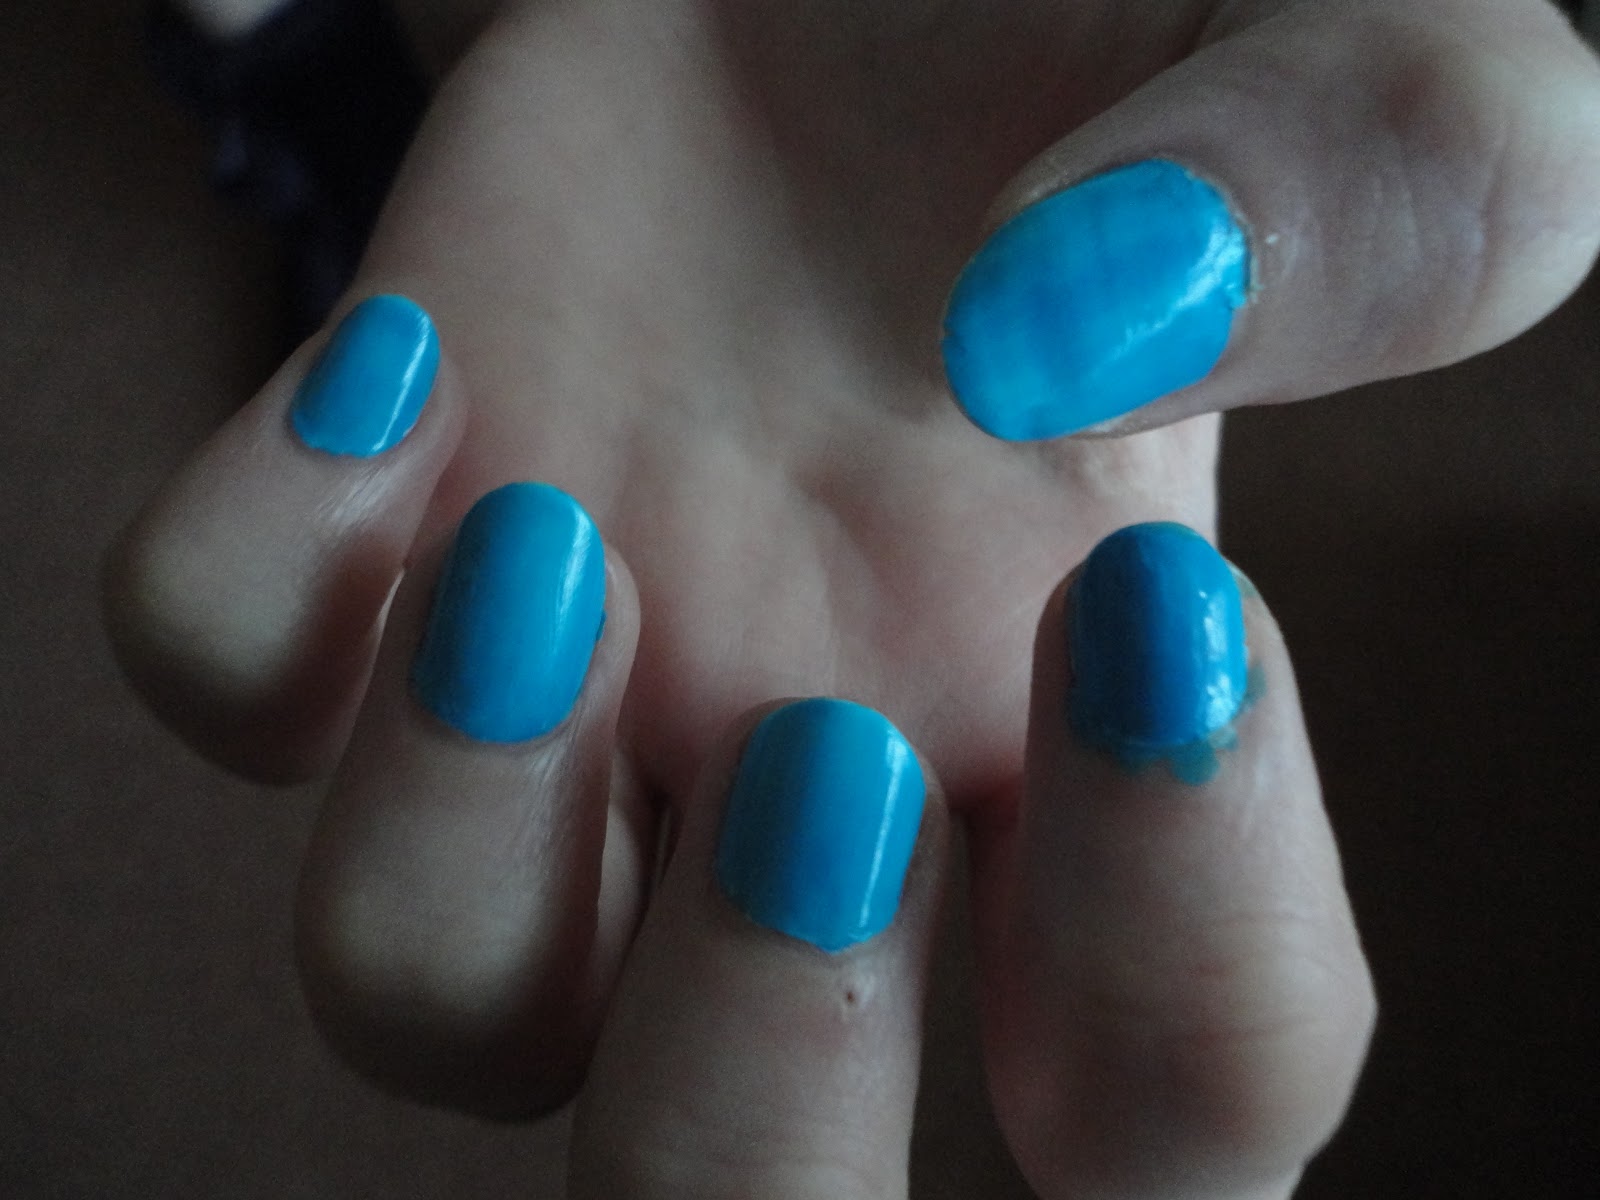
Paint the nails with your base colour. For this design you can use any colour you like, although a pastel colour works best. I chose to do one design with purple and another with blue. Don't worry if it is messy, you can clean it up at the end either with a cotton bud and nail varnish remover or you can peel it off!


Step 2

Paint silver spots on your nails. Make them all slightly different shapes and sizes and aim for around 4 or 5 spots on each finger, depending on the size of the nail.


Step 3

Draw black lines around each of the silver spots and add some small lines in between each spot too, to create the leopard print effect.


Step 4

Paint over each nail with a top coat to seal in the design


Finally, clean up around the nails to make them look neat.
If you have any suggestions or questions, please email them to nail.art12345@gmail.com or leave a comment below


Tuesday, 30 April 2013

Birthday Nails!

Birthday Nails!

Rating: *

Finished Nails
Tools

I used:
  • 'Collection 2000 103 French White'
  • 'Rimmel Lasting Finish 500 Disco Ball'
  • 'Barry M 290 Spring Green'
  • 'Collection 44 Parma Violet'
  • 'Rimmel Lasting Finish 030 Double Decker Red'
  • 'Miss Beauty No. 21 Sunset'
  • 'Rimmel Lasting Finish 280 Sunshine'
  • 'Rimmel Lasting Finish 198 Azure'
  • 'Collection 2000  Nail Care Top Coat'
  • A tissue
  • Nail varnish remover
  • A small, metal banded paintbrush (plastic would dissolve!) - I used size 10/0

Step 1

Paint your nails white. Don't worry if it is messy, you can clean it up at the end either with a cotton bud and nail varnish remover or you can peel it off!


Step 2

Paint over the white with a coat of sparkly. Try not to get too many sparkles on each nail or it will look cluttered.


Step 3

Using the paintbrush, paint a balloon shape with the green on your thumbs. Position it slightly to one side to allow for the other balloon.


Step 4

Using the paintbrush, paint another balloon shape with the purple on your thumbs. If need be, repeat steps 3 and 4 with another coat of varnish.


Step 5

Add on the strings of the balloons using the black.


Step 6

Paint wavy lines on each of your other fingers for the streamers. I chose to do three on each finger but you can do as many or as few as you like. I also chose to do them in several colours but, if you want it to look more uniform, you could use different shades of one colour or two complementing colours.


Step 7

Paint over each nail with the top coat to seal in the design.


Finally, clean up around the nails to make them look neat.

If you have any suggestions or questions, please email them to nail.art12345@gmail.com or leave a comment below


Friday, 19 April 2013

Rainbow nails!

Rainbow nails!

Rating: **

Finished nails

Tools
I used:
  • 'Rimmel Lasting Finish 198 Azure'
  • 'Rimmel Lasting Finish 030 Double Decker Red'
  • 'Rimmel Lasting Finish 280 Sunshine'
  • 'Collection 2000 103 French White'
  • 'Collection 2000 Nail Care Top Coat'
  • '17 Seabreeze'
  • A small, metal banded paintbrush (plastic would dissolve!) - I used size 10/0
Step 1

Paint the nails blue, using the 17 varnish. Don't worry if it is messy, you can clean it up at the end either with a cotton bud and nail varnish remover or you can peel it off!


Step 2

 Paint the three curved lines with the blue closest to the tip and the red furthest away. Make sure it reaches the edges of the nails. You may want to put white underneath it to make the rainbow stand out better.


Step 3

Paint on the cloud at the tip of the nail with the white, making it quite thick to ensure it completely covers the end of the rainbow.


Step 4

Paint over each nail with the top coat to seal in the design.


Finally, clean up around the nails to make them look neat.
If you have any suggestions or questions, please email them to nail.art12345@gmail.com or leave a comment below


Sunday, 14 April 2013

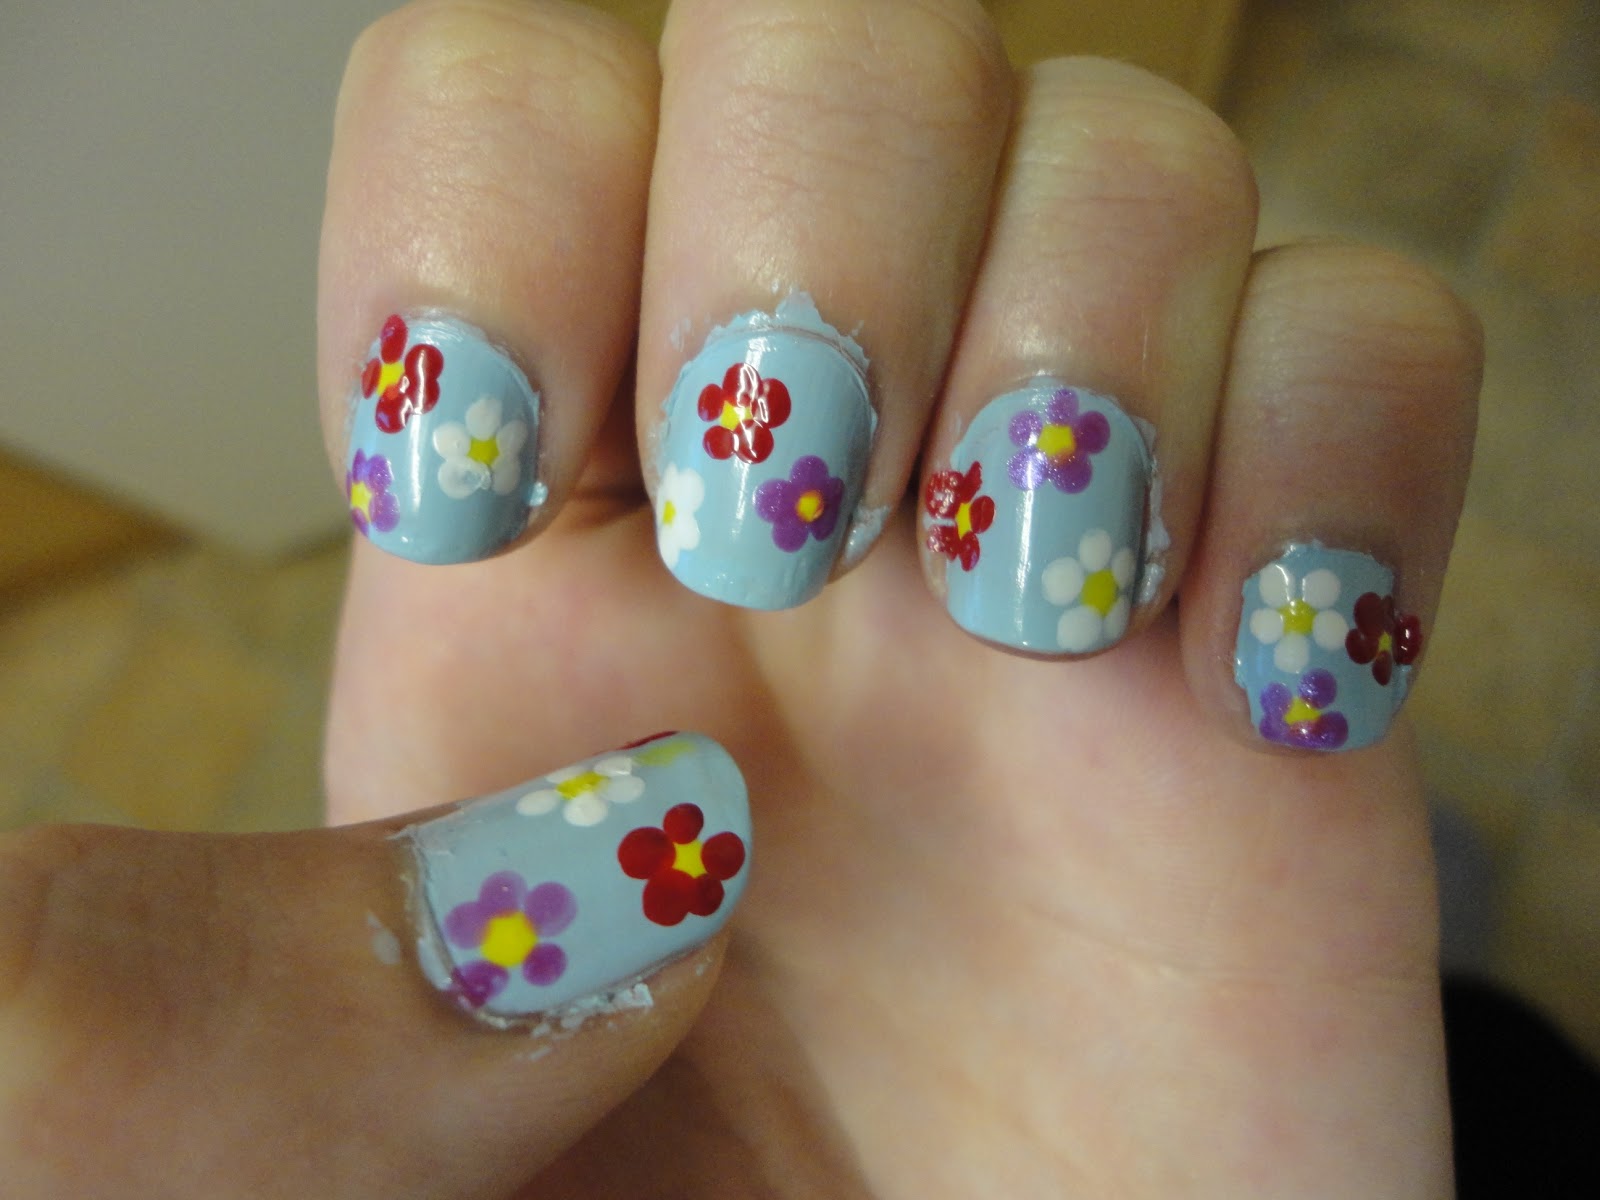
Spring Flower Nails!

Spring Flower Nails!

Rating: *

Finished nails
Tools
I used:
  • '17 Heartbeat'
  • 'Rimmel Lasting Finish 280 Sunshine'
  • 'Collection 2000 103 French White'
  • 'The Colour Workshop Purple Glaze'
  • 'Rimmel Lasting Finish 030 Double Decker Red'
  • 'Barry M 54 Clear'
  • A small dotting tool

Step 1

Paint the nails using a pastel shade. I used pale blue but any pastel/pale colour would work just as well. Don't worry if it is messy, you can clean it up at the end either with a cotton bud and nail varnish remover or you can peel it off!


Step 2

Use the dotting tool to place yellow dots on your nails for the centers of the flowers. I did three on each nail (except the thumbs where I did 4) but you can do as many or as little as you would like, although too many would become crowded and ruin the effect. Make sure you leave enough space around them for the petals, unless you are doing loads and want them to overlap.


Step 3

Use the dotting tool to place 5 white dots around one of the yellow dots on each finger, to make the flowers. If you don't want to use the same colours as me then start with the palest colour as, if the petals end up overlapping, the paler colour will struggle to be seen over the darker ones.


Step 4

Use the dotting tool to place 5 pale pink dots around one of the yellow dots on each finger, to make the flowers. Again, if you aren't using the same colours as me, this should be your middle shade.


Step 5 

 Use the dotting tool to place 5 red dots around one of the yellow dots on each finger, to make the flowers. Again, if you aren't using the same colours as me, this should be your darkest colour.


Step 6

Paint over each nail with the top coat to seal in the design.

Finally, clean up around the nails to make them look neat.
 
If you have any suggestions or questions, please email them to nail.art12345@gmail.com or leave a comment below


Saturday, 16 February 2013

Galaxy Nails!

Galaxy Nails!
(based on this design by Caz)

Rating: ***

Finished nails
Tools
I used:
  • 'Collection 2000 Manicure 103 French White'
  • '17 Heartbeat'
  • '17 Seabreeze'
  • '17 Navy Glint'
  • 'Rimmel 60 seconds 610 Pompous'
  • 'Collection 2000 12 Minx'
  • 'Barry M 245' 
  • 'Collection 2000 Nail Care Top Coat'  
  • A sponge 
Step 1

 Paint your nails with the navy blue. Don't worry if it is messy, you can clean it up at the end either with a cotton bud and nail varnish remover or you can peel it off!

Step 2

Sponge a line of  white across the nail. This is the basis for your galaxy so chose the shape wisely. You could have identical galaxies on each finger or you could chose a different shape for each nail. I chose to have different shaped galaxies on each nail. 


Step 3

Sponge a line of pale blue down the center of the white section


Step 4

Sponge a line of slightly darker blue down the center of the galaxy


Step 5

Sponge a small amount of navy blue down the center of the galaxy


Step 6

Sponge some purple (the Rimmel one) down the center of the galaxy


Step 7

Sponge some of the other purple down the center of the galaxy


Step 8

Sponge a tiny amount of gold into the center of each galaxy


Step 9

Paint over each nail with the top coat to seal in the design.

Finally, clean up around the nails to make them look neat.

If you have any suggestions or questions, please email them to nail.art12345@gmail.com or leave a comment below


Saturday, 2 February 2013

Music Nails!

Music Nails!

Rating: ****

Finished nails
Tools
I used:
  • 'Collection 2000 Manicure 103 French White'
  • 'Model's Own Pen Black'
  • 'Collection 2000 Nail Care Top Coat'  
  • A copy of the music for reference

Step 1

Paint your nails white. Don't worry if it is messy, you can clean it up at the end either with a cotton bud and nail varnish remover or you can peel it off!


Step 2

Using the black pen, draw five lines for the stave across each nail. Start by drawing the central one across the middle of your nails and then add the others either side so that the stave is central on your nail.


Step 3

Add the note heads to the stave, starting with the little finger on your right hand. You could use the same music as me ("Hedwig's Theme" from the Harry Potter films) or you could chose your own music. However, the fewer the number of notes in the bar, the easier it is to fit on your nails. Don't forget the accidentals (flats and sharps)!

Right hand
Left hand

Step 4

Add in the stems for all the notes, noting whether they go up or down.

Right hand
Left hand
Step 5

Add in the slurs to the music

Right hand
Left hand

Step 6

On your thumbs paint a treble clef. You could also add random notes or different clefs if you wanted; this part is pretty much up to you as to what you want.


Step 7

Paint over each nail with the top coat to seal in the design.

 
Finally, clean up around the nails to make them look neat.


If you have any suggestions or questions, please email them to nail.art12345@gmail.com or leave a comment below