Sunday, 20 April 2014

Spring Flower nails!

Spring Flower Nails!

Happy Easter everyone! It's a little late but better late than never, right?

Rating: **


Finished Nails
Tools

Butterflies
I used:
  • Collection 2000 Nail Care Top Coat
  • Barry M 290 Spring Green
  • Maybelline 720 Green Miracle
  • Rimmel 60 Seconds 703 White Hot Love
  • Rimmel Lasting Colour 280 Sunshine
  • 20/0 Paintbrush
  • Dotting tool (not pictured)
  • 2 Butterflies
  • Tweezers (not pictured) 

Step 1

Paint your nails with the clear top coat.

Step 2

Use the paintbrush to paint the lighter green across the tips of all your nails. Start at the tip and flick the brush up towards the cuticle to get the pointy grass look.


Step 3

Use the paintbrush to paint the darker green over the light green. Don't do too much, you just want it to add depth.


Step 4

Paint the flower petals onto the nails. For each one, start at the centre of the flower and draw the brush outwards. If you can, you may want to practice this before you do it on your nails.


Step 5

Add the centres of the flowers using the yellow and a small dotting tool.


Step 6

Add the butterflies to your thumbs. You could put them on your ring fingers if you wanted but I thought it looked a bit crowded. To do this, paint a small amount of clear nail varnish where you want the butterfly. Pick out a butterfly and place it on the nail. Position it using the tweezers and hold it down (bending it to the shape of the nail) until it no longer slides around. 


Step 7

Paint over the design with the top coat and clean up around it. Make sure to put a little extra over the butterfly, just to make sure it doesn't come off too easily as it does stick up a bit.


If you have any suggestions or questions, please email them to nail.art12345@gmail.com or leave a comment below 

Thursday, 17 April 2014

Autumn Leaf Nails!

Autumn Leaves Nails!

Apologies for our mysterious absence but I found these from ages ago and thought I would post them. Don't expect posts to suddenly appear - it's surprisingly difficult to find time to do the more intricate designs but we do have a few ideas and old designs that are still on my camera which will be coming your way every fortnight for the next month or two!

Rating: ***

Finished Nails

Acrylic Paints

Tools

I used:

  • Collection 2000 Lasting Colour19 Berry Hot
  • 619 Cadmium Orange acrylic paint
  • 651 Lemon Yellow acrylic paint
  • 701 Gold Imit acrylic paint
  • Clear top coat
  • 20/0 paintbrush

Step 1

Paint the nails with the red nail varnish.


Step 2

Paint the orange leaves on the nail using the orange acrylic paint and a small paintbrush. You could use nail varnish instead of acrylic paint but I found it easier to paint the leaves using paint. To do each branch of the leaf, draw a line and then add the points.

Step 3

Repeat the process using the yellow acrylic paint.

Step 4

Repeat the process with the gold acrylic paint.


Step 5

Cover the design in clear nail varnish to protect it and make it shiny as acrylic paint is rather dull. Also, clean up around the nails with nail varnish remover. 

 
If you have any suggestions or questions, please email them to nail.art12345@gmail.com or leave a comment below 

Sunday, 1 December 2013

Star nails!

Star Nails!
(A perfect design to kick off advent)

Rating: *

Finished Nails
Tools
I used:
  • '17 Navy Glint'
  • 'Models Own Silver'
  • Salon Express Stamper
  • 'Collection 2000 Nail Care Top Coat'

Step 1

Paint the nails with the navy blue. This may require two coats to achieve the desired effect of midnight blue sky.

Step 2

Use the star stamper to place a silver star in the corner of each nail. I only used the biggest of the stars in this cluster because I thought any more would look over crowded.


Step 3

Cover the design in the top coat to seal in the design and prevent chips.


If you have any suggestions or questions, please email them to nail.art12345@gmail.com or leave a comment below 


Sunday, 10 November 2013

Flower nails!

Flower Nails!
A perfect design for Remembrance Sunday

Rating: **

Finished nails
Tools
I used:
  • 'Collection 2000 103 French White'
  • 'Rimmel Lasting Finish 030 Double Decker Red'
  • 'Collection 2000 Nail Care Top Coat'
  • Salon Express Stamper 
  • Nail Varnish remover
  • Tissue

Step 1

Paint the nails white.


Step 2

Paint the nails red.


Step 3

Use the stamper to put the flower design onto each nail. You will need to clean the stamper with the nail varnish remover and tissue between each nail. The stamper is quite tricky to use so do some practices beforehand and don't expect it to be perfect the first time around. 


Finally, cover the nails in the top coat and clean up around them with nail varnish remover.

If you have any suggestions or questions, please email them to nail.art12345@gmail.com or leave a comment below 


Friday, 1 November 2013

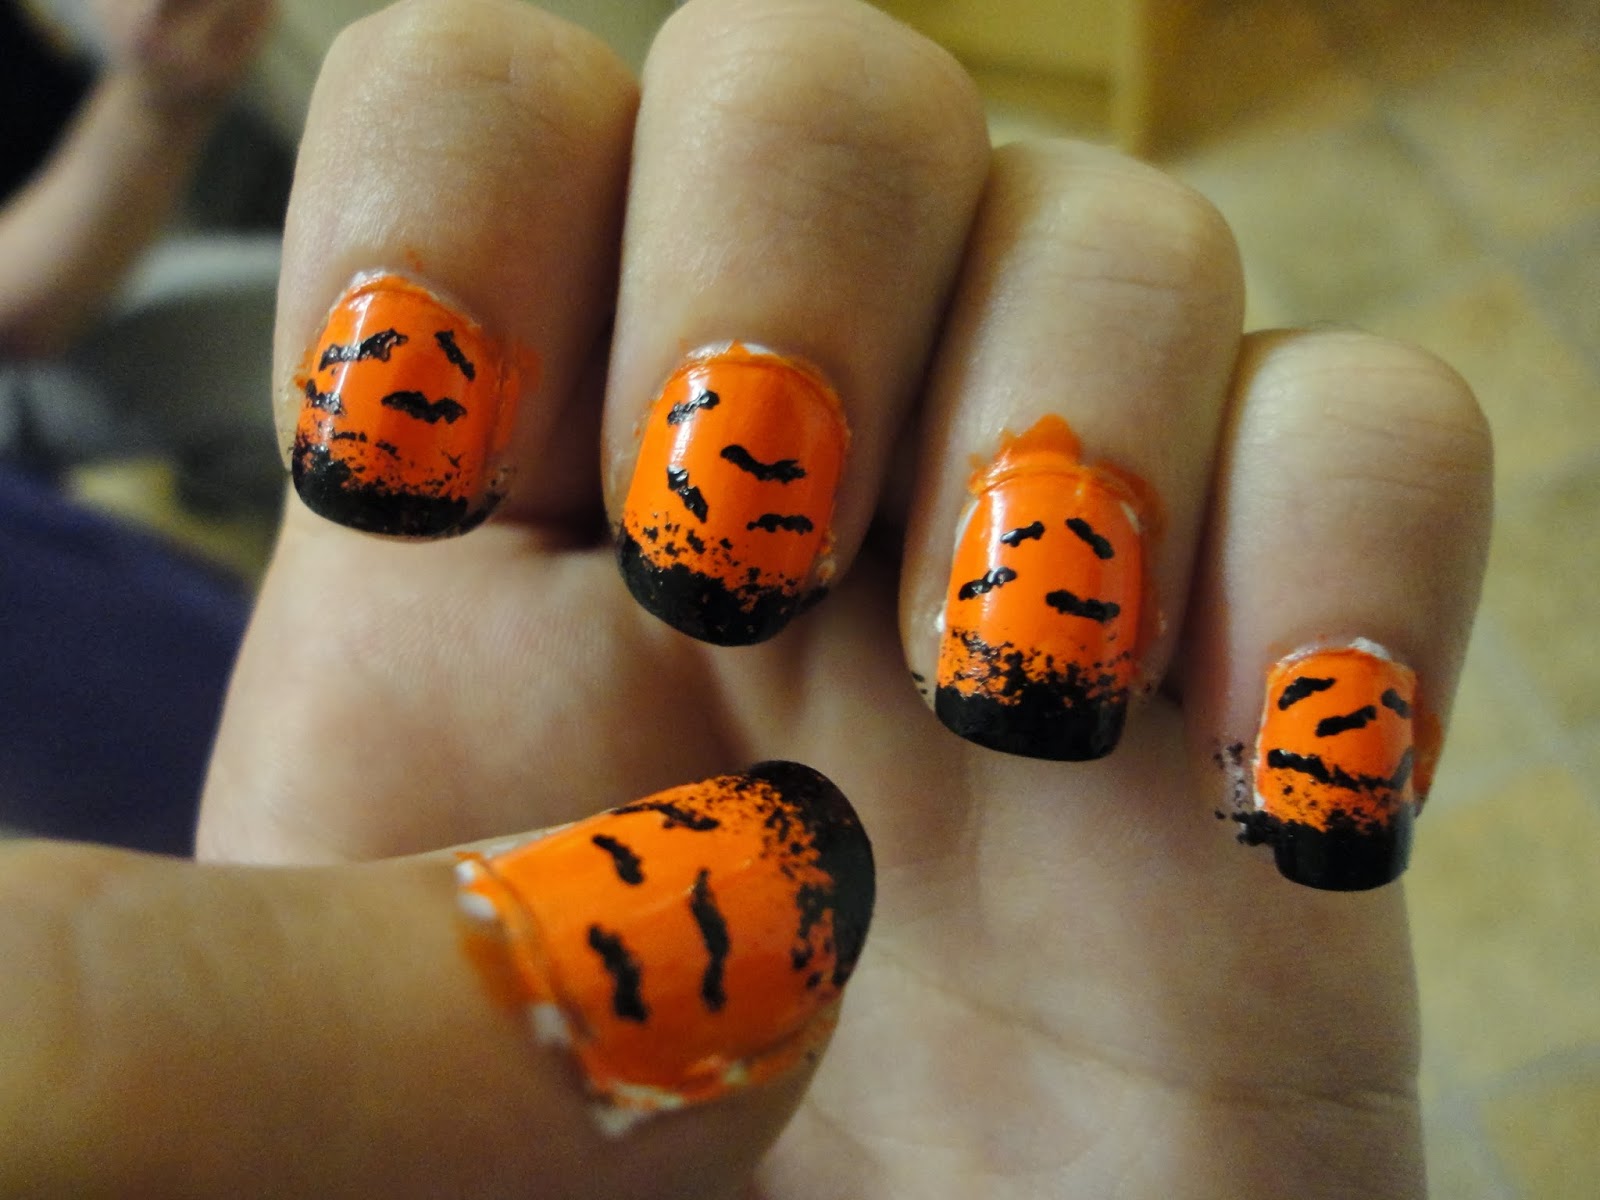
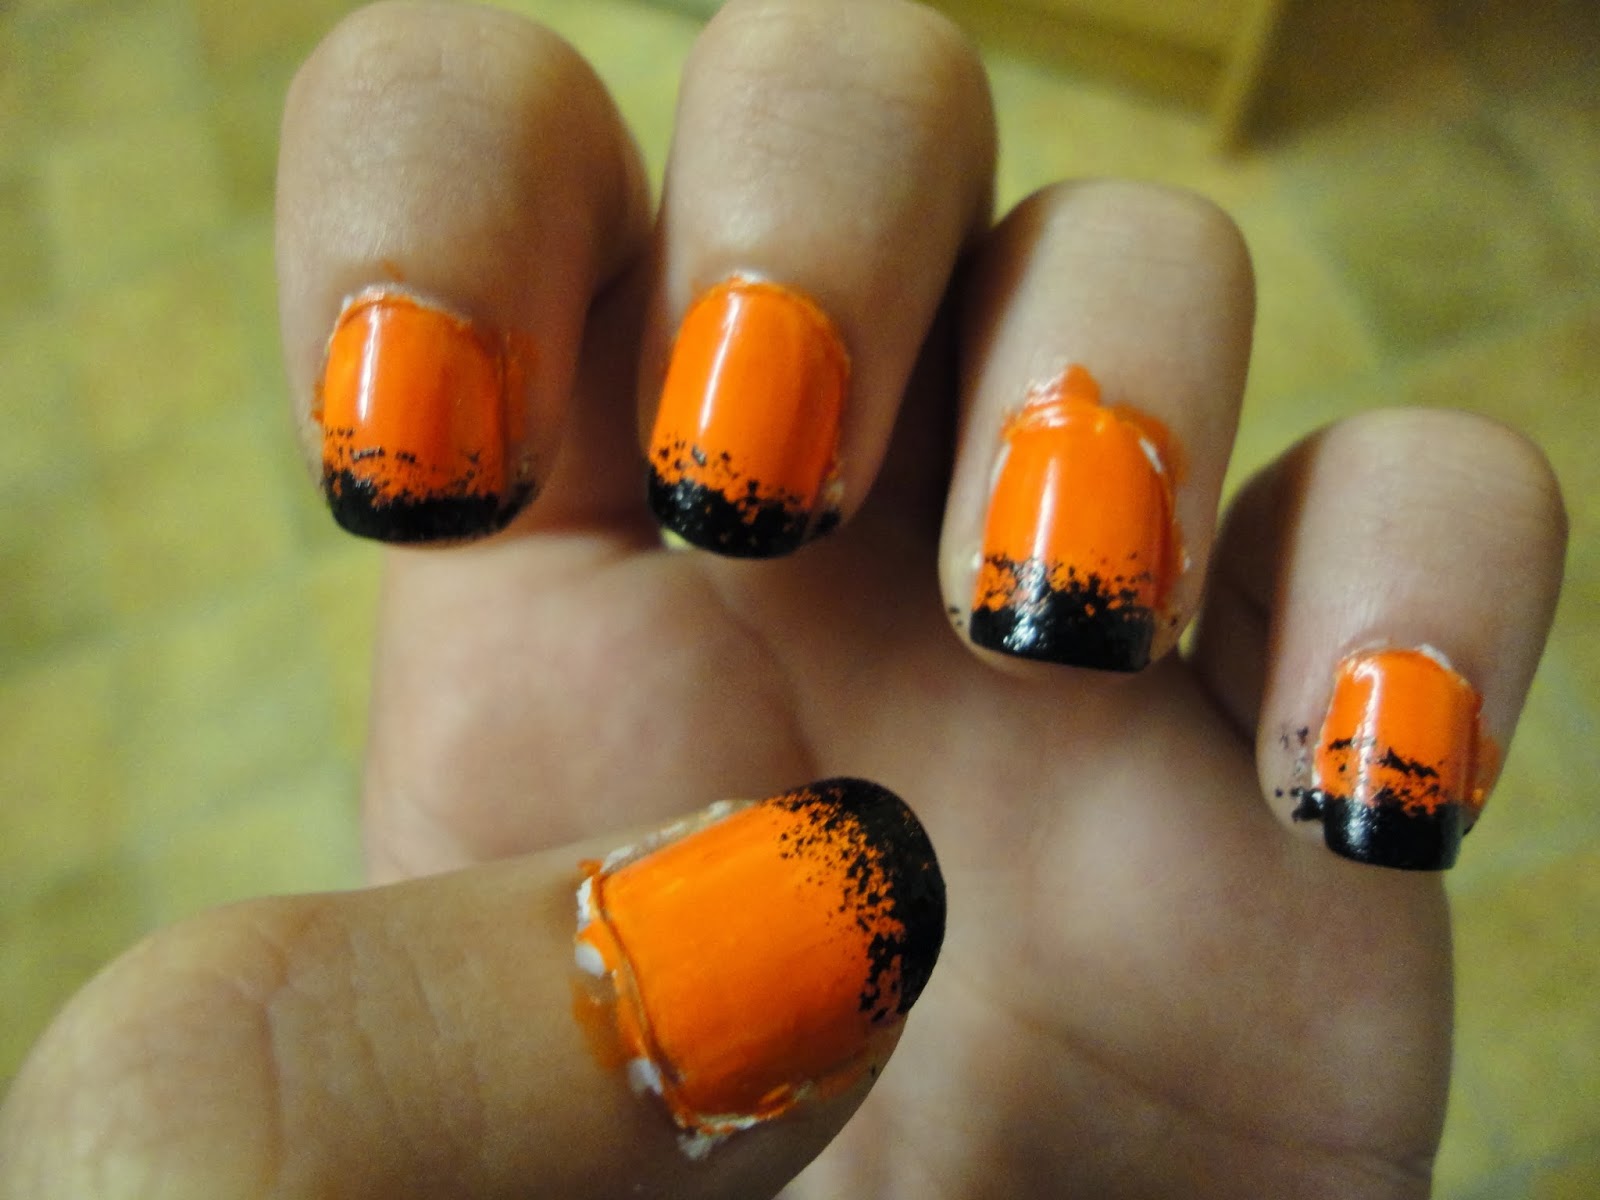
Halloween Nails!

Halloween Nails!
(slightly belated but better late than never, right..?)

Rating: **

Finished nails
Tools
I used:
  • 'Collection 2000 103 French White'
  • 'Miss Beauty 21 Sunset'
  • 'Barry M black Nail Art Pen'
  • 'Barry M 54 Clear'
  • Sponge

Step 1

Paint your nails white to protect them from staining when you remove the orange


Step 2

Paint your nails orange. I only used one coat and got a pretty decent coverage but you might want to use two if your orange isn't as thick.


Step 3

Dab a bit of the black onto the sponge and make the tips of each nail black. You want the part of your nail which is usually white to be completely covered with black (like a French tip mani) and then you want it to fade into the orange.


Step 4

Use the pen to draw bats on the remaining orange section of your nail. Draw the ones at the top slightly smaller than those at the bottom, if you can, although this is a little tricky.


Step 5

Cover the nails in a top coat to protect the design. If you do this immediately after doing the bats it is liable to smudge so wait a few hours before doing this to prevent it. Finally, clean up around the nails to make them look presentable!


If you have any suggestions or questions, please email them to nail.art12345@gmail.com or leave a comment below  

Sunday, 29 September 2013

Sorry!

Hi everyone, I just wanted to apologise for the lack of post today. We are both away this weekend and have spent most of this week preparing so haven't had time to paint our nails... We will resume normal posting next week, hopefully (don't hold your breath though; it's quite hard to co-ordinate it with all our school work and other clubs). We're also slowly starting to run out of ideas so, if there's something you want to see us do, feel free to let us know, either in the comments below or by emailing nail.art12345@gmail.com.

Sunday, 22 September 2013

Stripy white tipped nails!

Stripy White Tipped Nails

Rating: *

Finished nails
(Tools picture to follow)

I used:
  •  A clear sparkly nail varnish (the name of which I've forgotten but I think it was quite old...)
  • 'Barry M Nail Art Pen White'

Step 1

Paint your nails with a clear, sparkly nail varnish. You might want to do several coats until you achieve the amount of sparkles you like.


Step 2

Use the nail art pen to draw lines from the tip of the nail up towards the base. Draw them in different directions and don't draw them too long (ie. not more than half the nail). You could paint the tips of your nails (the white section) with the white pen before drawing the lines to neaten up the whole design if you like.


Finally, clean up around the nails and apply a top coat to prevent chips (I didn't and mine had chipped by the next morning).

If you have any suggestions or questions, please email them to nail.art12345@gmail.com or leave a comment below