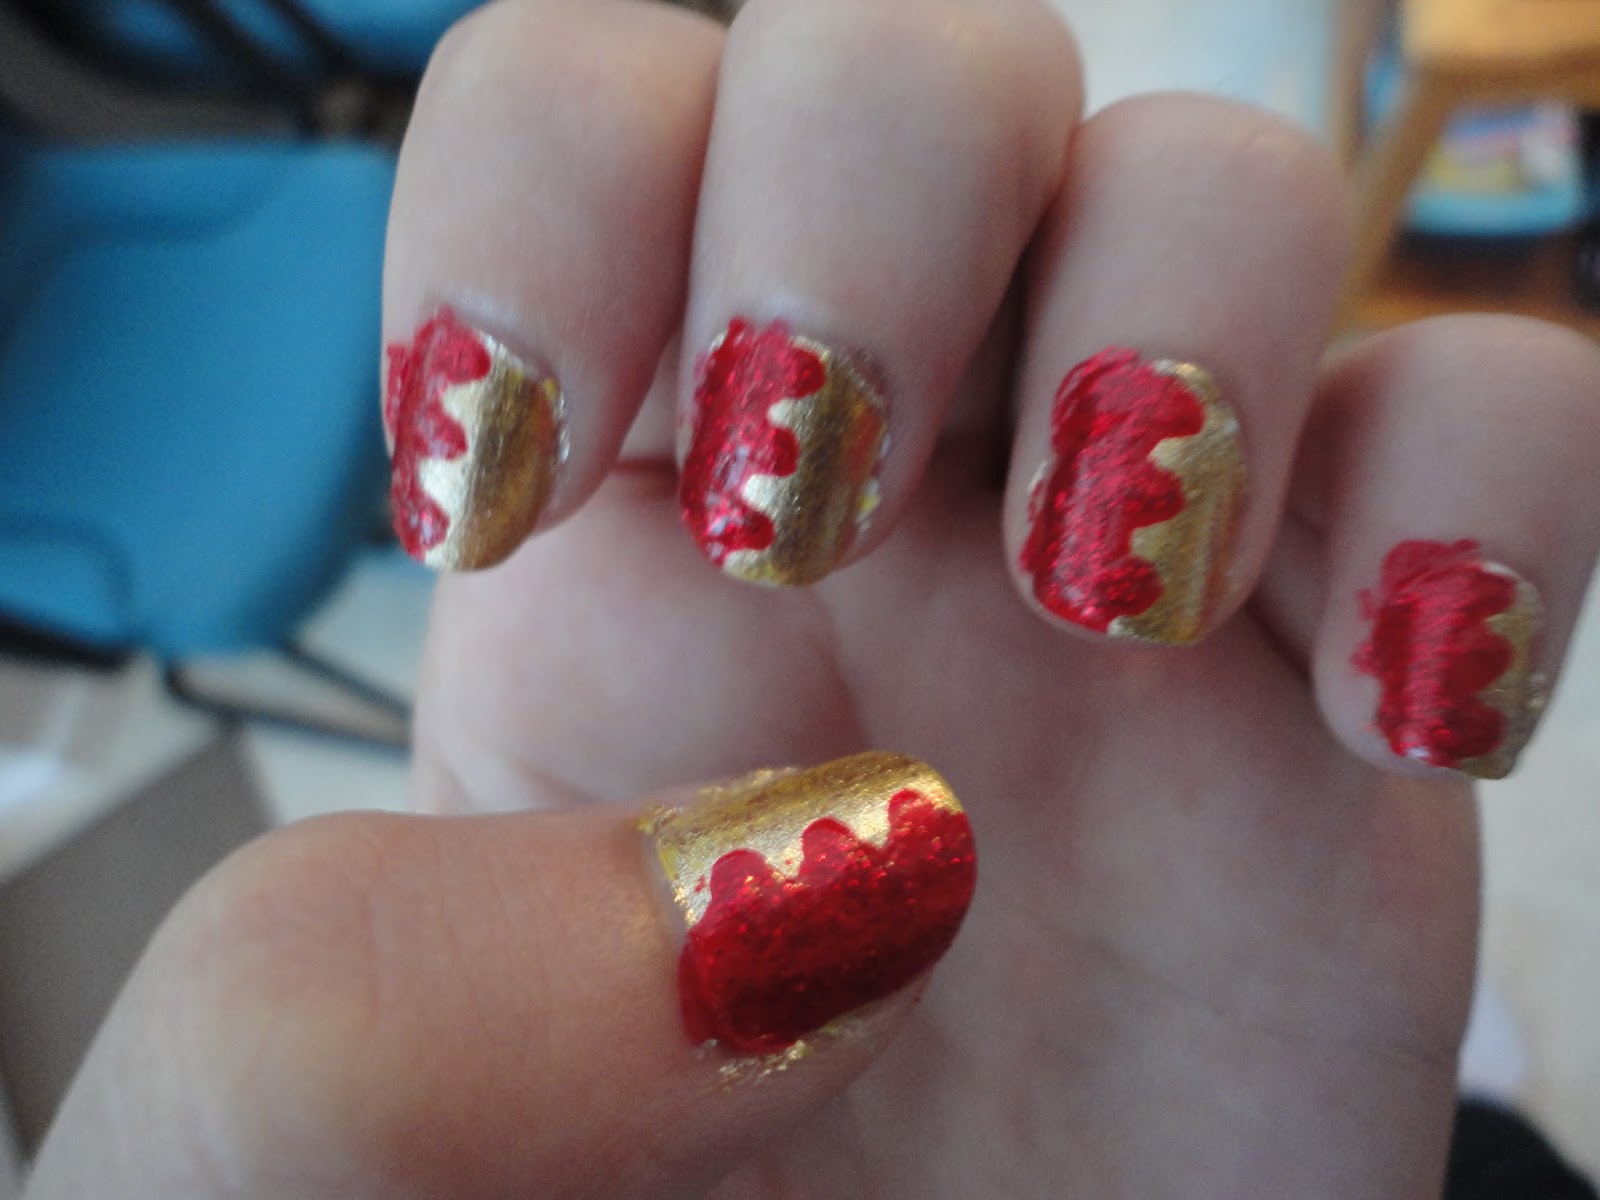
'Wavy split nails!'
Rating: ***
 |
| Finished nails |
 |
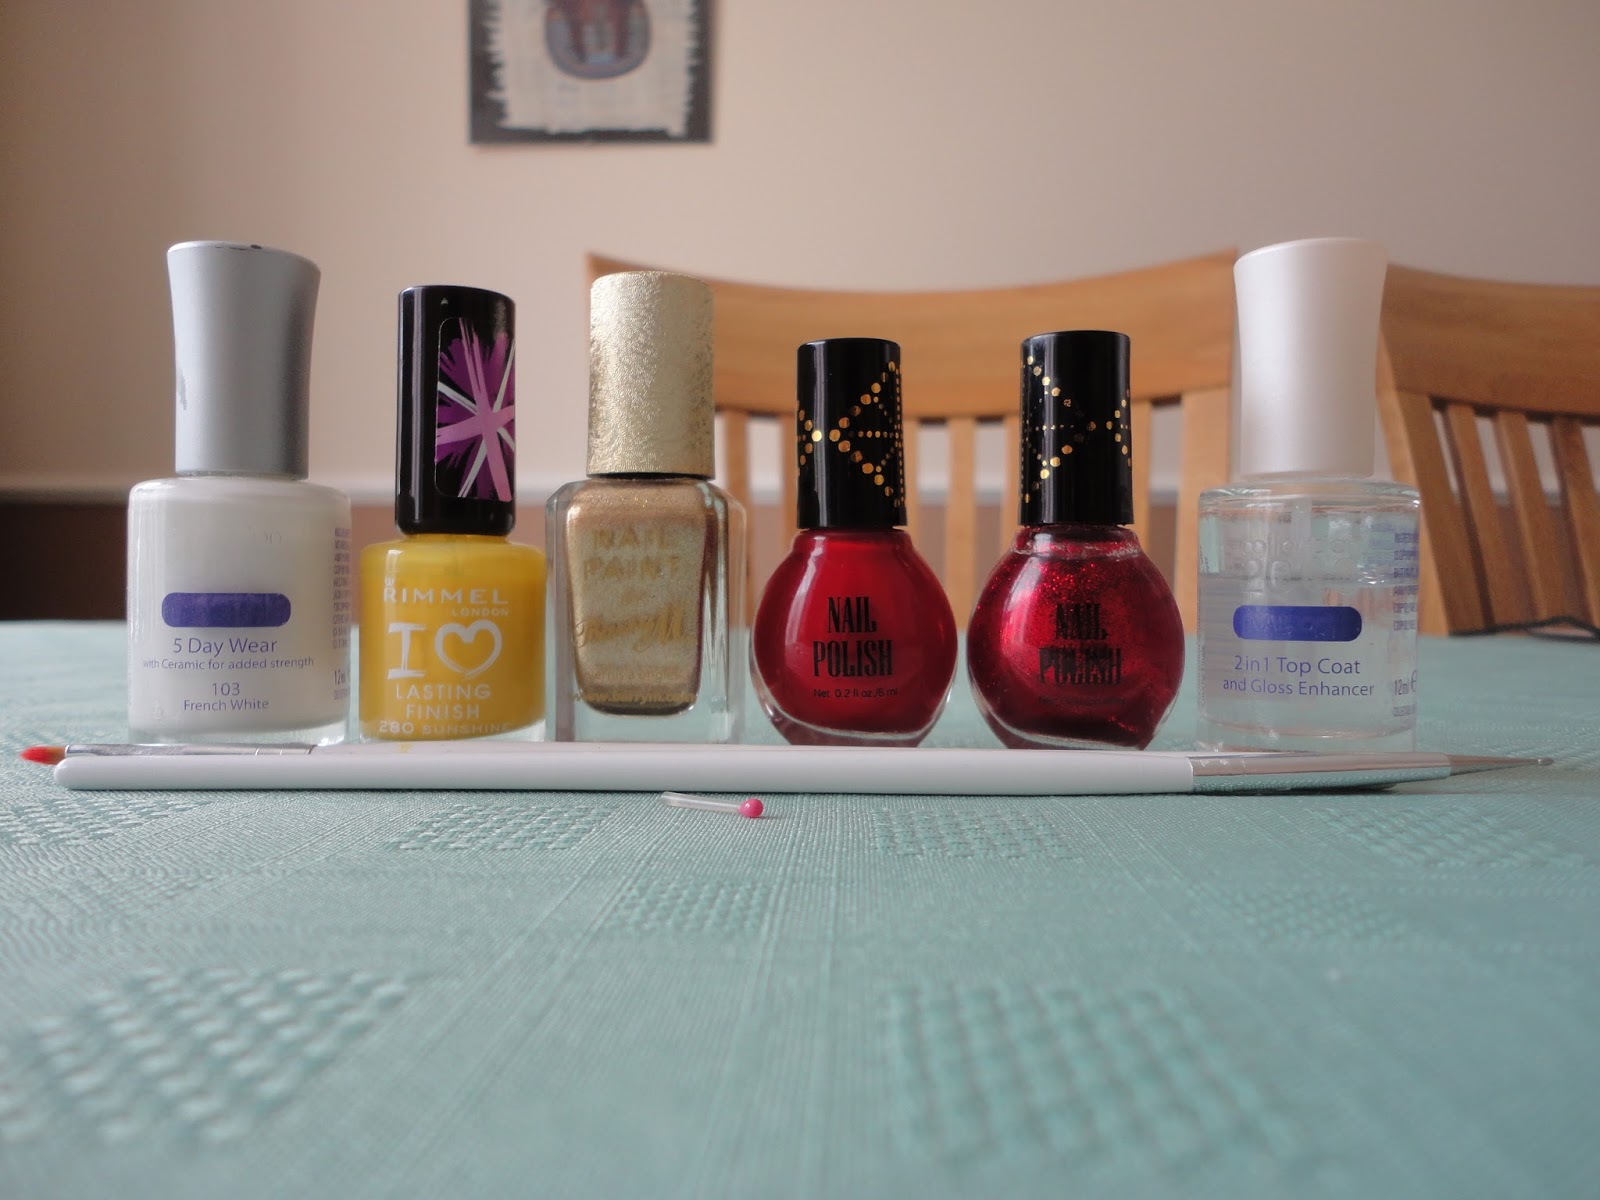
| Tools |
I used:
- 'Collection 2000 103 French White'
- Rimmel Lasting Colour 280 Sunshine'
- 'Barry M 245'
- 'H&M Super Red'
- 'H&M Super Glitter'
- 'Collection 2000 Nail Care Top Coat'
- Thin detail brush
- Small dotting tool
Step 1
Paint your nails white. Don't worry if it is messy, you can clean it up at the end either with a
cotton bud and nail varnish remover or you can peel it off!
Step 2
Paint your nails yellow. If you're using a thicker gold then you might not need the yellow; I only used it because my gold was quite thin and I didn't want to use loads of coats!
Step 3
Paint over the yellow with the gold.
Step 4
Paint one third of each nail with the red. Don't worry about making the line perfect you're going to cover over it with the wavy detail anyway.
Step 5
Paint the wavy line using the red and the detail brush. Alternatively, you can paint all of the red section in one go, using the detail brush.
Step 6
Paint over the red section with the sparkly red. If you want, you can use the detail brush for this but it doesn't really matter either way. I just used the brush that came with the varnish.
Step 7
Using the dotting tool, gold dots on the red side.If you want, you can use a larger dotting tool closer to the divide and a smaller one further away but I decided to just use a small one for all the dots.
Paint over the nails with the clear to seal in the design and, finally, clean up around the nails to make them look neat.