Double Chevron Nails!
Rating: **
 |
| Finished Nails |
 |
| Tools |
I used:
- Barry M 634 Raspberry
- Barry M 632 Gold Digger
- Barry M Blackjack
- Sinful Colours 903 Top Shine
- Masking tape
- Small metal tipped paintbrush
Step 1
Paint your nails with the red nail varnish.
Step 2
Using the masking tape, mark out a V shape at the base of your nail and paint it gold. Remove the tape immediately so the nail varnish doesn't pull.
Step 3
Using the paintbrush, add a thin black line around the gold triangle.
Finally, cover your nails in the top coat to protect them.
If you have any suggestions or questions, please email them to nail.art12345@gmail.com or leave a comment below. And don't forget to head over to our Facebook page and hit like or follow us on Instagram!
Night Sky Nails!
Rating: ***
 |
| Finished Nails |
 |
| Tools |
I used:
- Essence Black Space Glitter
- Lottie LL024 Gimme the Beat
- Chromacryl White Paint
- Sinful Colours 903 Top Shine
- Makeup sponge
- Small metal headed paintbrush
Step 1
Paint your nails with the sparkly black.
Step 2
Using the sponge, add a silver stripe across each nail.
Step 3
Using the paintbrush, and the white paint, add some dots for stars and one or two crosses on each nail.
Finally, cover your nails in the top coat to protect them.
If you have any suggestions or questions, please email them to nail.art12345@gmail.com or leave a comment below. And don't forget to head over to our Facebook page and hit like or follow us on Instagram!
Bauble String Nails!
Rating: ****
 |
| Finished Nails |
 |
| Tools |
I used:
- Cairuo Blueberry 17
- Barry M Blackjack
- Lulaa Liquid Latex
- Rimmel 430 Porcelain
- Claire’s 30509 Magic Show
- Sinful Colours Top Shine
- Make up sponge
- Small dotting tool
Step 1
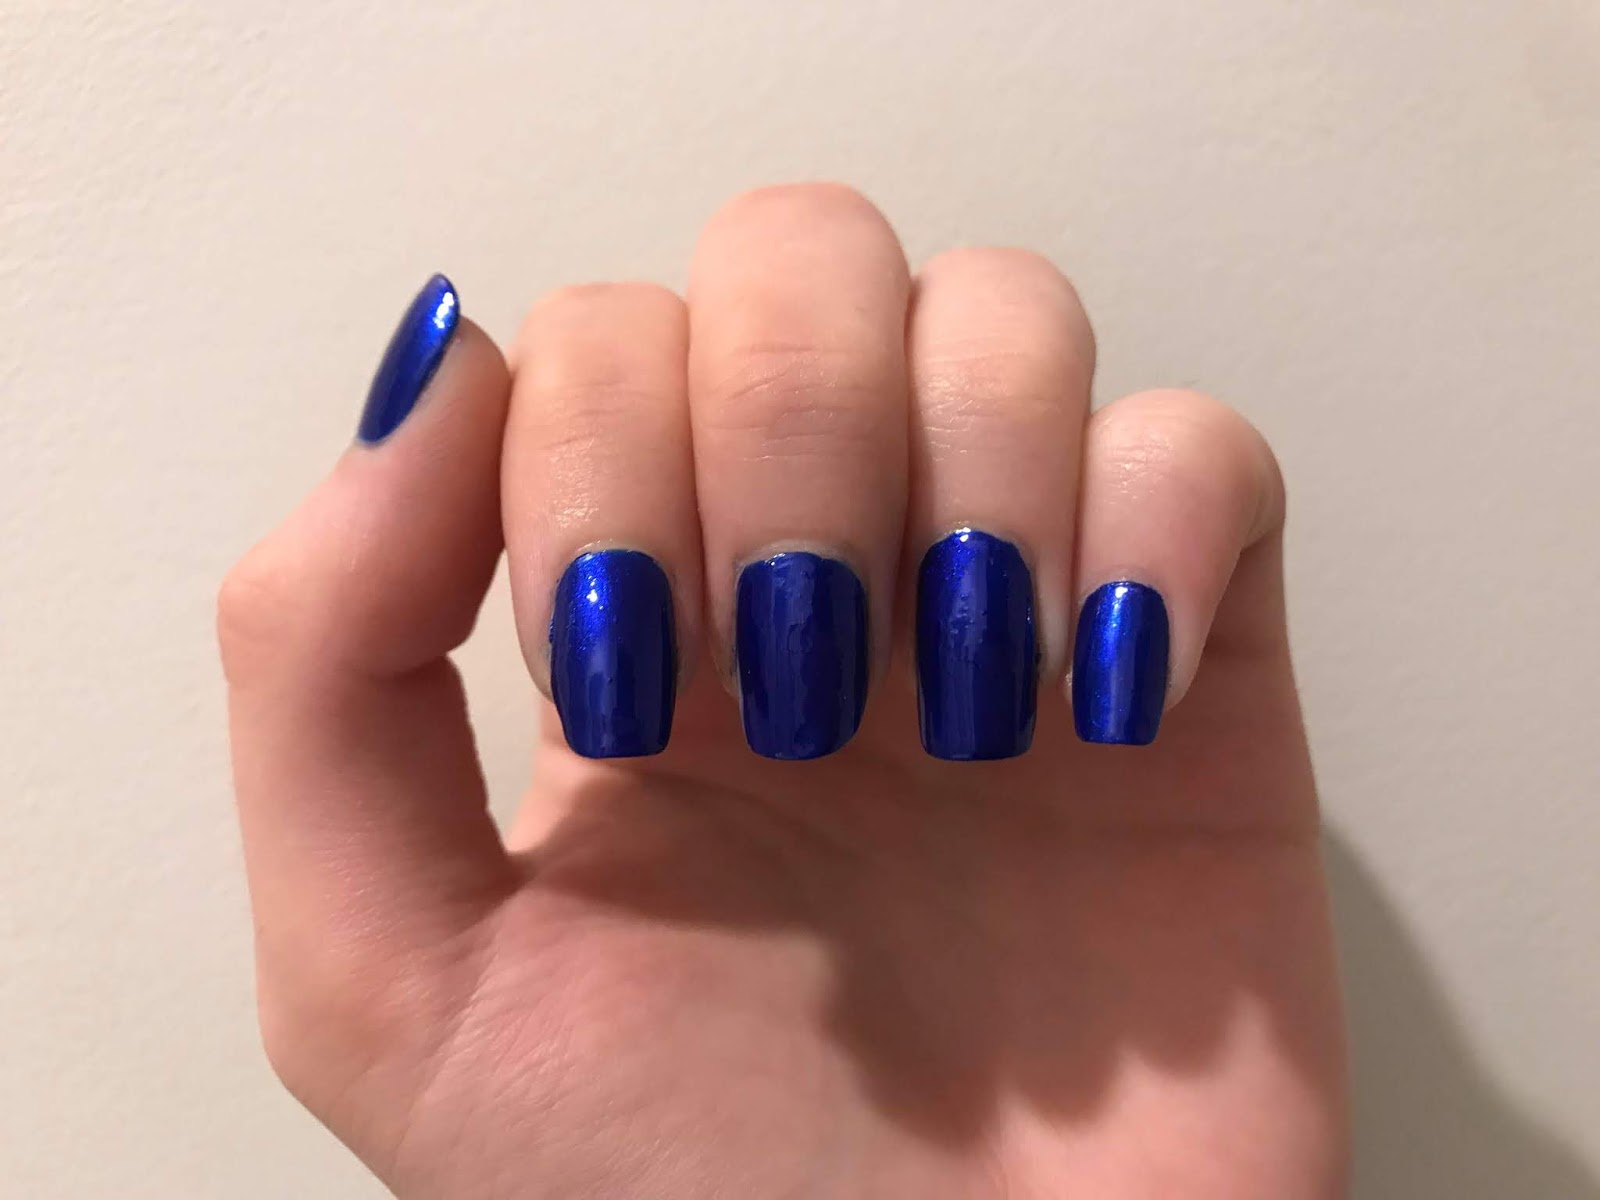
Paint your nails with the bright blue.
Step 2
Using a sponge, create a gradient effect with the darkest patches in opposite corners of your nail.
Step 3
Paint over all your nails with the top coat to smooth out the design.
Step 4
Paint white stripes down the length of your nails, of varying lengths.
Step 5
Using the dotting tool, add white dots down each of the string, making them all different sizes.
Step 6
Add small blue dots to the larger white dots.
Step 7
Add a small amount of glitter to the tip of each nail.
Finally, cover your nails in the top coat to protect them.
If you have any suggestions or questions, please email them to nail.art12345@gmail.com or leave a comment below. And don't forget to head over to our Facebook page and hit like or follow us on Instagram!